Wheely Cheap Shoes (Part 1)
The Reason I Won’t Waste Tyre Shine on my Wheels
I think one of the biggest and most impactful mods you can do on a car is new wheels.
Unsurprisingly, nice new wheels are fucking expensive! Even second hand ones.
I really, really hate my current wheels though so I’m going to have to come up with a budget friendly way to buy my car some new shoes.
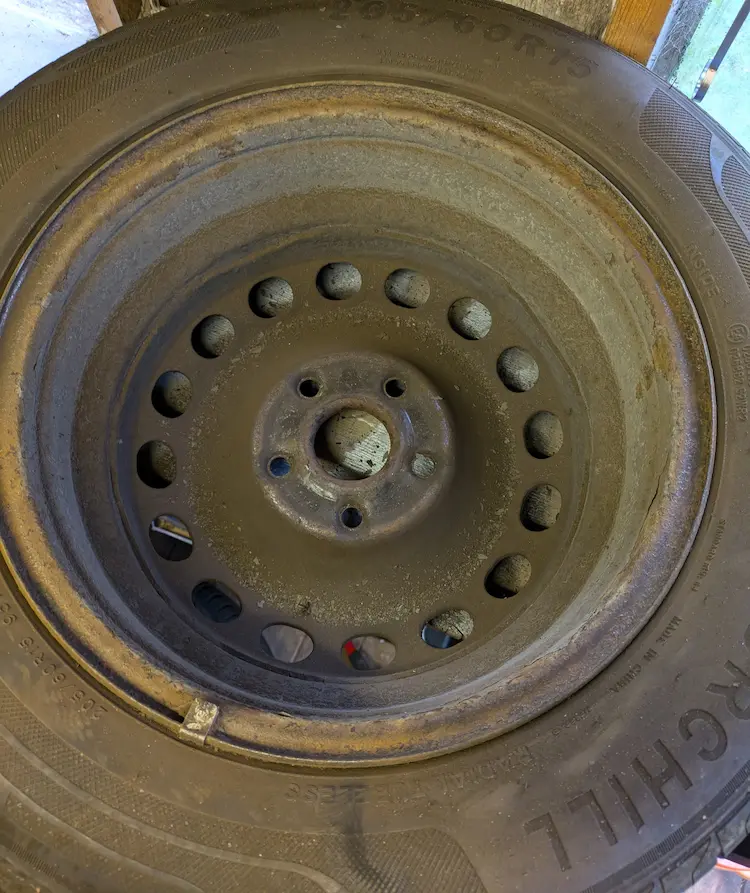
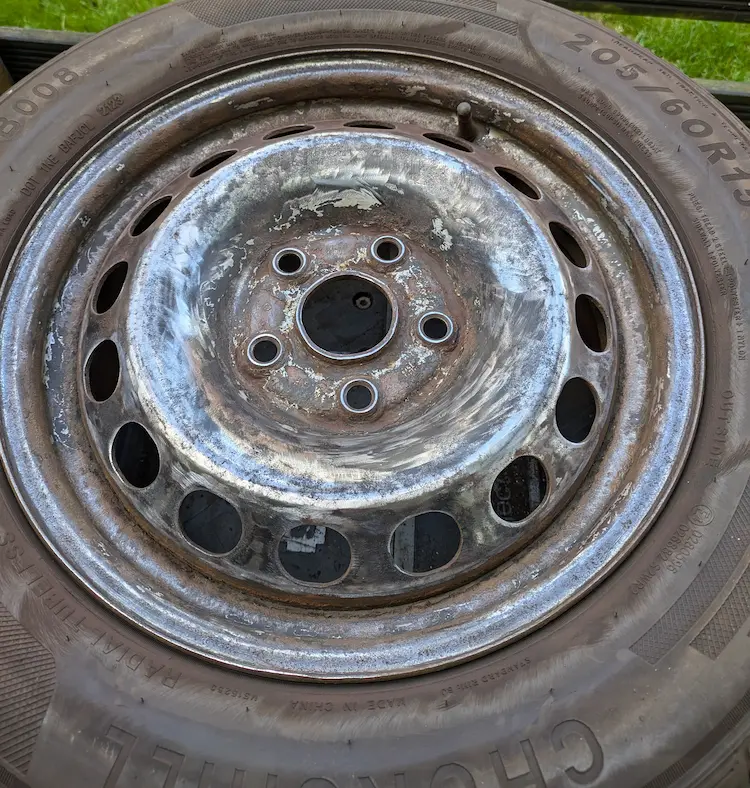
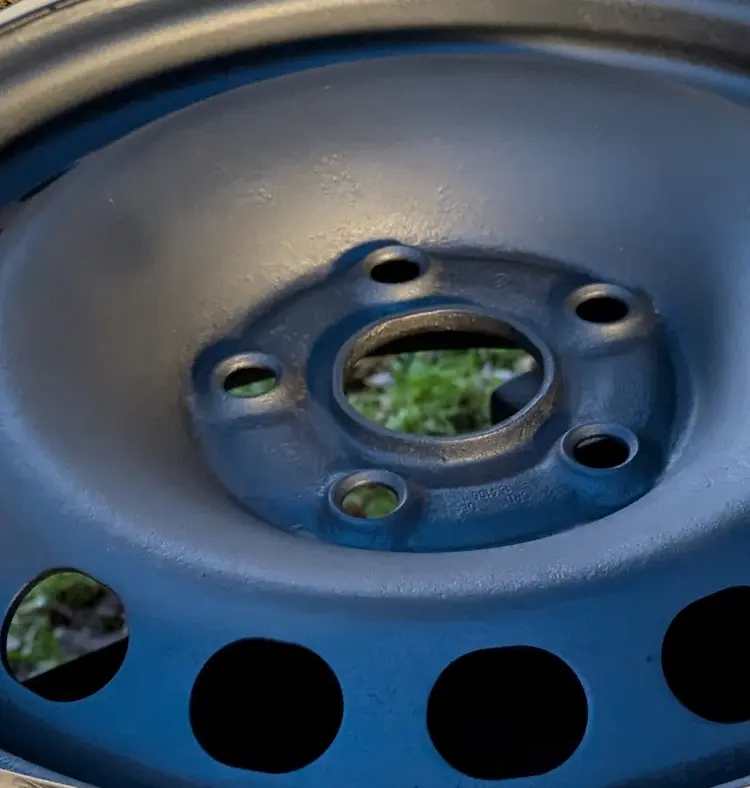
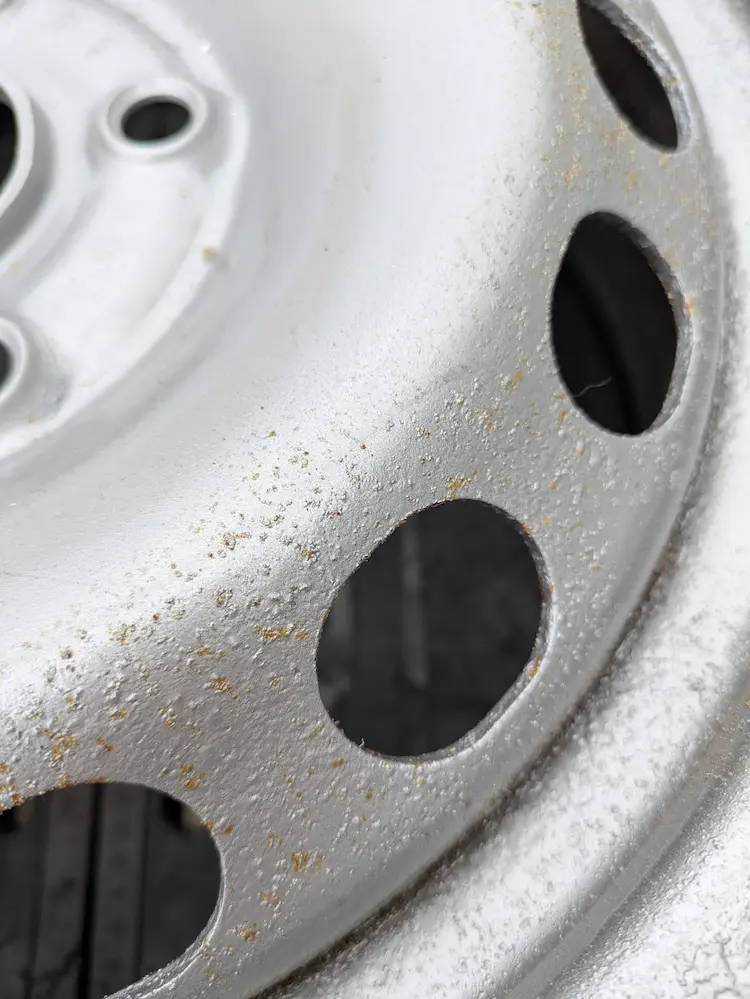
This is the state of my current wheels:
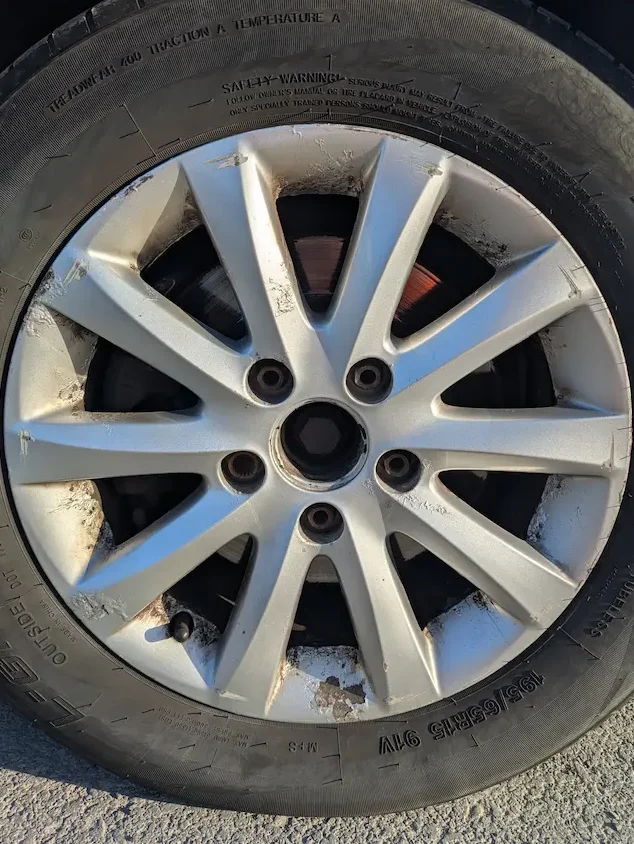
Every.
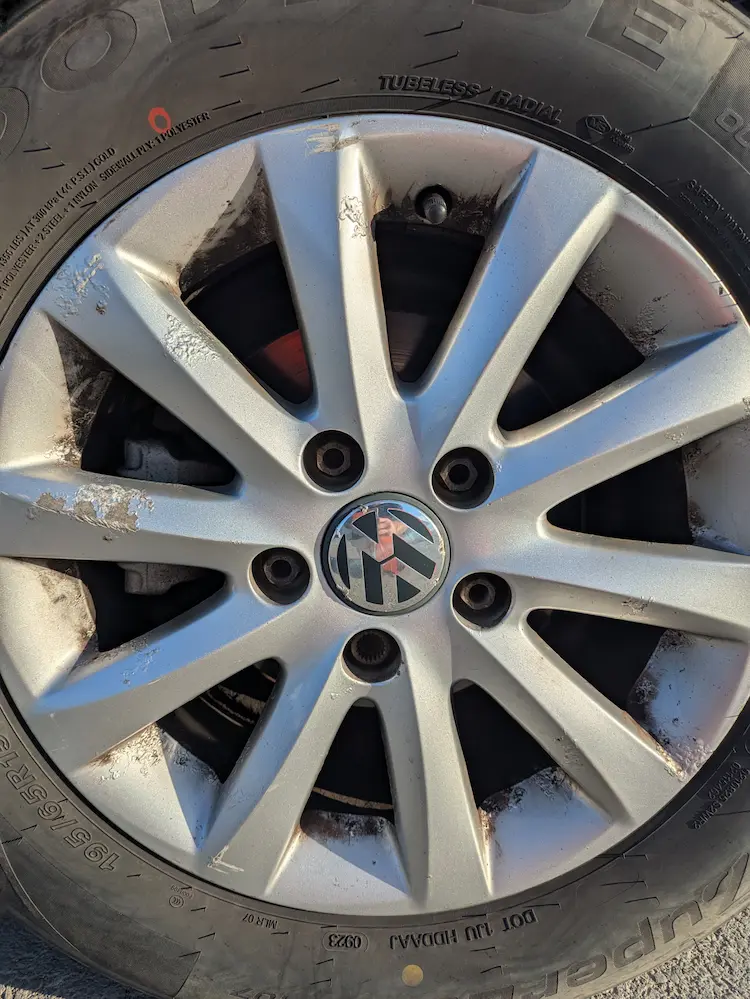
Single.

One.
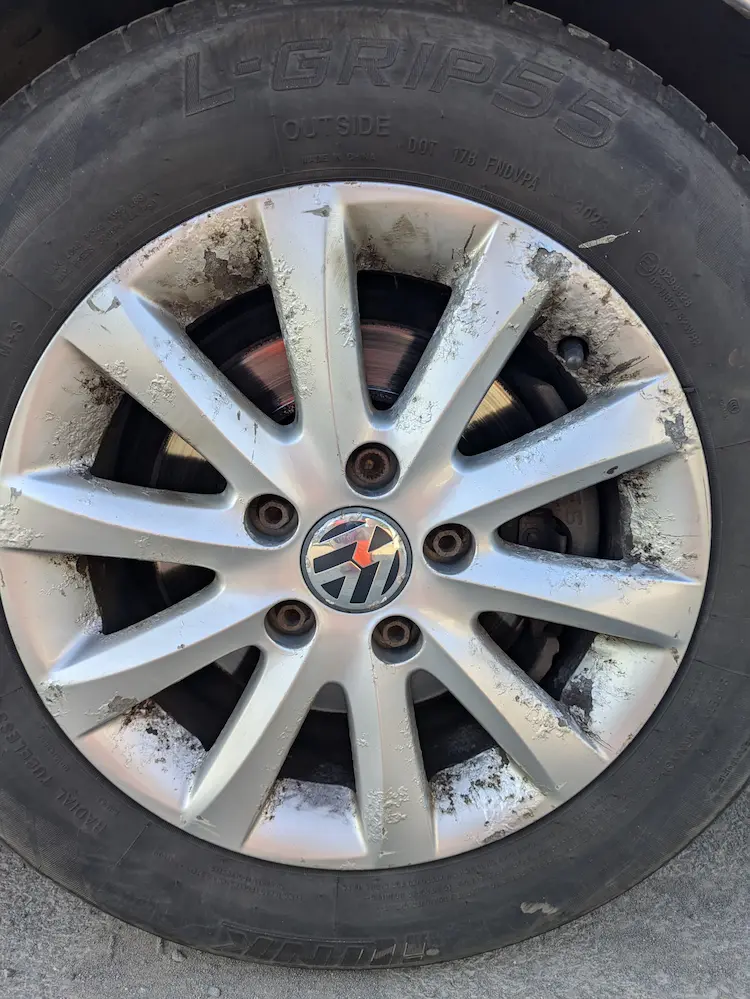
Fucked.
Mistake #1
Facebook Marketplace is the perfect oxymoron; amazing and shit at the same time. On one hand you can find some great, cheap bargains but on the other, you have to meet IRL people and swap cash for goods face to face, and you run the risk of buying something broken or dying.
I spend a lot of time browsing car and tool related items on Marketplace and occasionally you come across some serious bargains like this:

I mean, who the fuck goes to the effort of taking a picture of a single, cheap torx bit, uploads it onto Marketplace and asks for 30p! Haha!
Another Bargain?
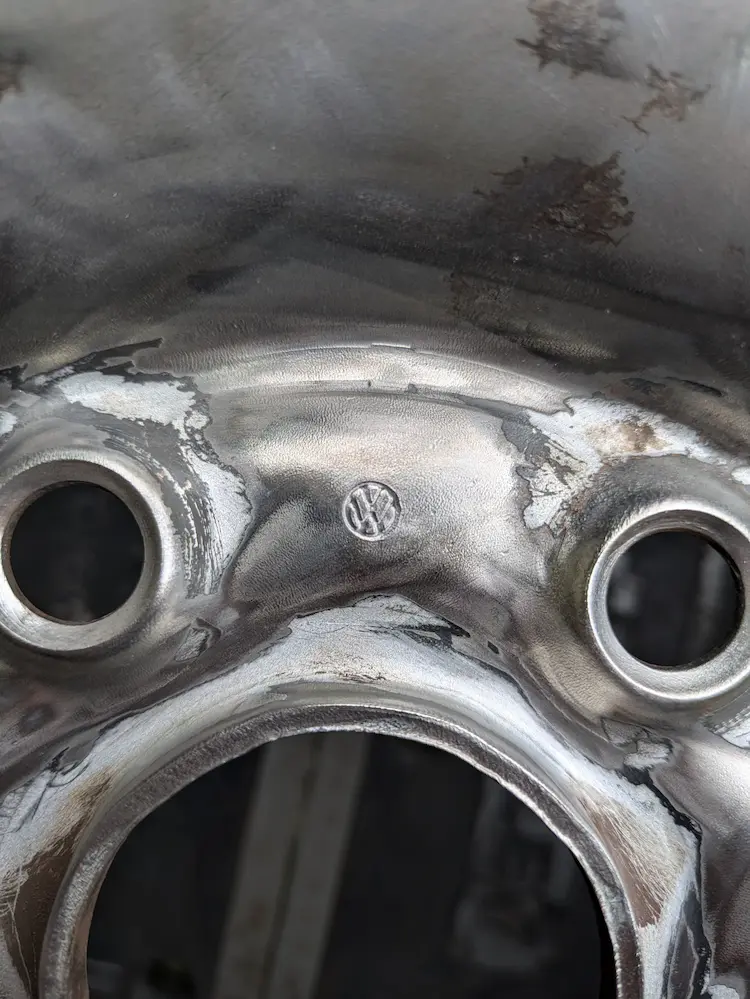
Whilst wasting some time on Facebook Marketplace one day, I found a dude close by who was selling eight steel wheels off of his VW Transporter.
My vast knowledge of car wheels triggered the following thought process in my brain: “I own a VW”, “the wheels this dude is selling are from a VW”, “why wouldn’t his VW steelies fit my VW?”, “VW is the same as VW so I can’t think of a valid reason why VW would make different sized wheels for their cars”. So I dropped him a message and after some haggling I managed to get four of the eight wheels for £10 each, bargain!
When I arrived at the stranger’s house I met on the internet, I followed him into his garage and he let me pick the four wheels I wanted. I made sure to take a bit of time and pick the four wheels with the best tread (I’m feeling very professional and clever now) and feeling quite smug I bundled them into my boot and across the back seat and took them home.
When I arrived home I rolled each one from the carpark and down to the bottom of the back garden and put them in my shed ready for a good inspection.
I was super happy with my “new” 17 inch steelies. I decided on a plan to make them look good; I was going to sand them all down in my shed and paint them back up silver, exciting!
Firstly though, I wanted to get a glimpse of what they’d look like on my car so I grabbed my jack and wheeled one of the new steelies back out into the carpark for a test fit. I jacked the car up and took off my original wheel and then attempted to put the new steel wheel on.
“What the fuck!? Why won’t the holes on the steel wheels line up with the holes on the wheel hub? Also, the centre hole on the steel wheels is bigger than the centre flange on my wheel hub? Ahhh shit!”
Turns out VW isn’t the same as VW after all!

I initially went on a little tangent and looked into ways of making/trying to make the wheels fit. I looked at hub adapters and wobble bolts but ultimately, I feel like correctly fitting wheels are kind of an important safety concern, especially when our kids are in the car, so I opted to carry on my search for some more cheap but effective wheels.
Research Time
I find the best way to learn things is to make mistakes and luckily I’m very good at making mistakes which in turn means I’m also very good at learning new things.
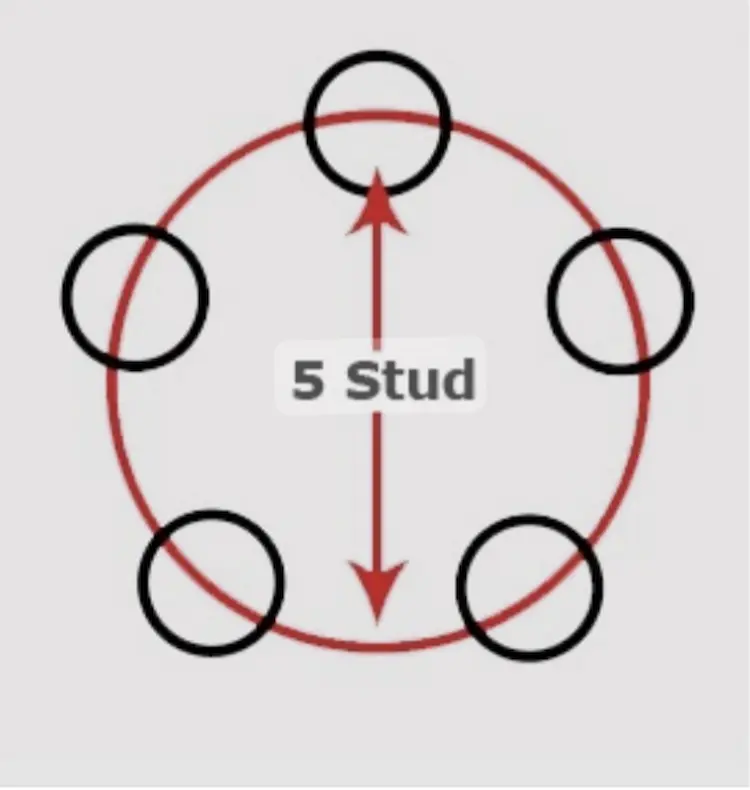
Pitch Circle Diameter
It turns out that car wheels have a special measurement called pitch circle diameter, or PCD for short.
Lesson time: Pitch circle diameter (PCD) is the diameter of the imaginary circle that passes through the exact centre of all the wheels bolt holes. It’s typically expressed as “number of bolts x diameter (mm)” e.g. a VW Mark 5 Golf has a PCD of 5×112 whereas a VW Transporter has a PCD of 5×120 (I think this is the reason my steel wheels don’t fit).
Free Pounds and Free Pence
The only thing better than a cheap bargain on Facebook Marketplace is a free item!
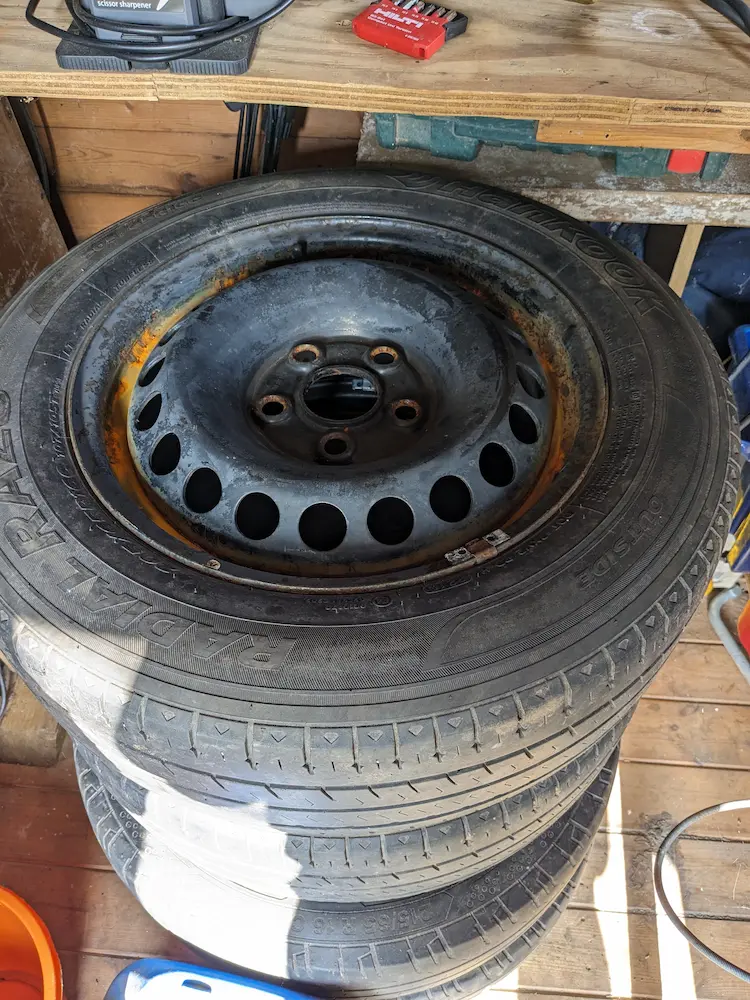
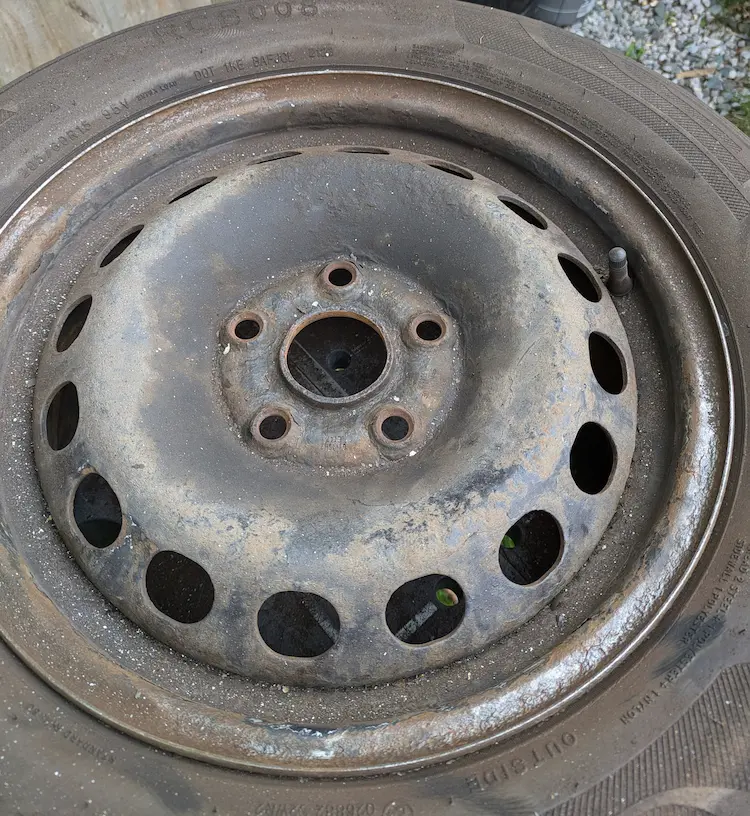
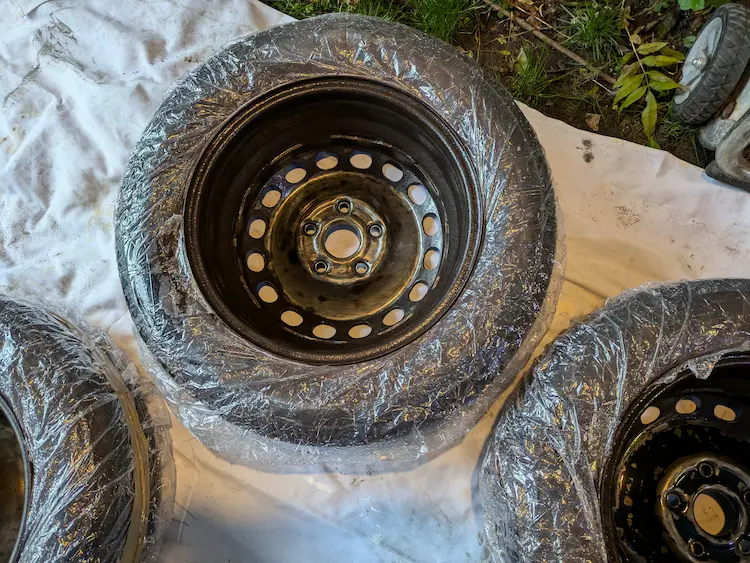
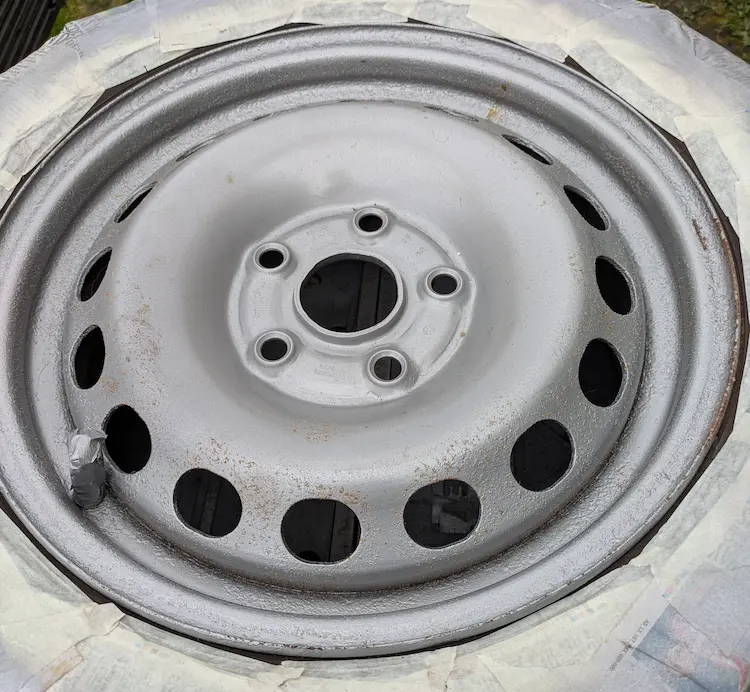
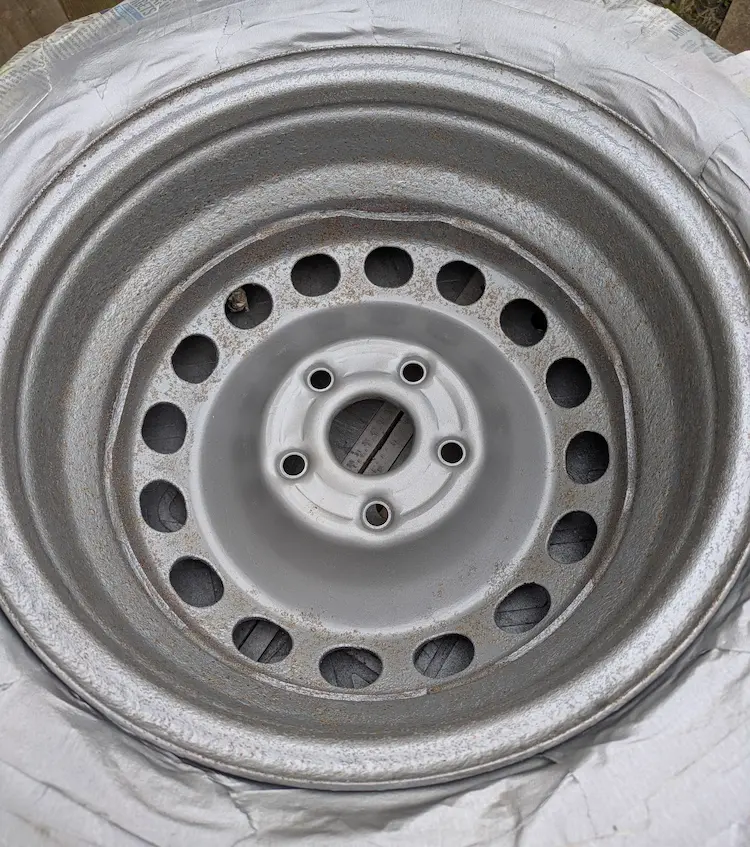
A couple of weeks after my mistake purchase I found another dude on Marketplace giving away four steel wheels off of a VW Caddy. He wasn’t sure of the PCD but after some quick Googling I was 99% sure the PCD of a VW Caddy is the same as the PCD on a Mark 5 Golf! I arranged a time and a day to go and collect them and an hour’s drive later I had in my possession four 5×112 steel wheels in the back of my car and it only cost me zero pounds and zero pence plus fuel!
The only issue I could see with the wheels was they were really, really dirty, full of brake dust and had a fair bit of rust.
Time to Become a “Professional” Painter
I’ve never spray painted anything before but all the videos I’ve seen make it look super easy so it’s probably not that hard to pick up.
I had some knowledge stored away in my brain box from somewhere so I already knew the wheels would need sanding down to bare metal, then some primer would be needed, then my choice of coloured paint followed by some lacquer. As I originally thought, this is pretty easy.
After a little bit of searching around, eBay looked like the cheapest place to buy primer, spray paint and lacquer, so I purchased the following Hycote silver wheel paint (three cans) and wheel paint lacquer (one can) for £19.99:
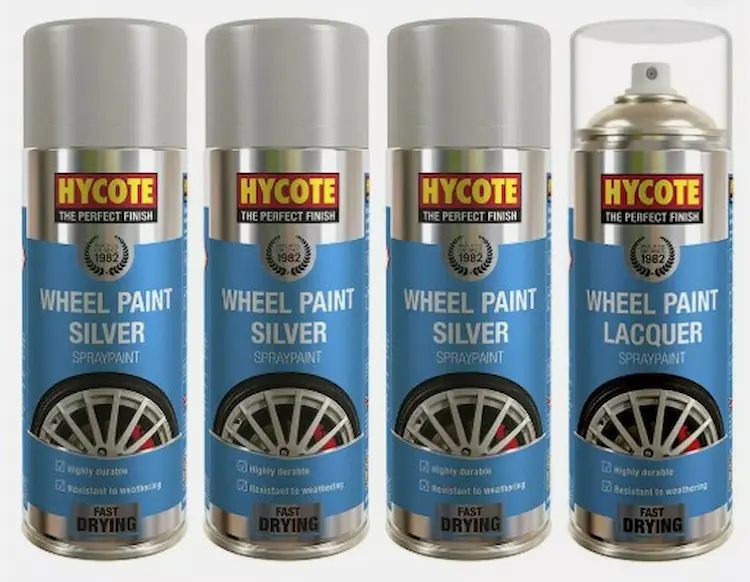
Here’s the link:
Then I bought three cans of Hycote multi-purpose primer for £11.18 (being a grown up thinker and making sure this was suitable for metal preparation)
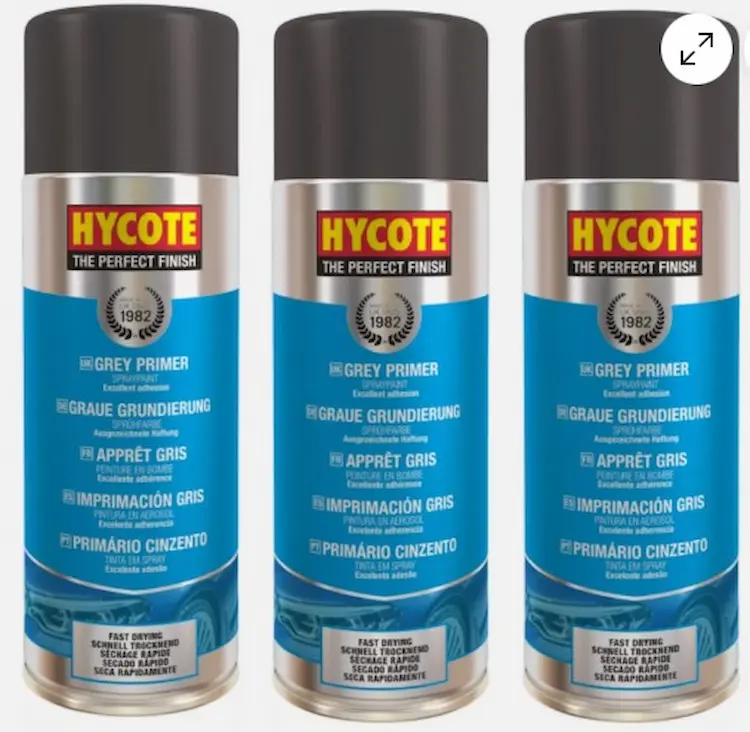
And the link:
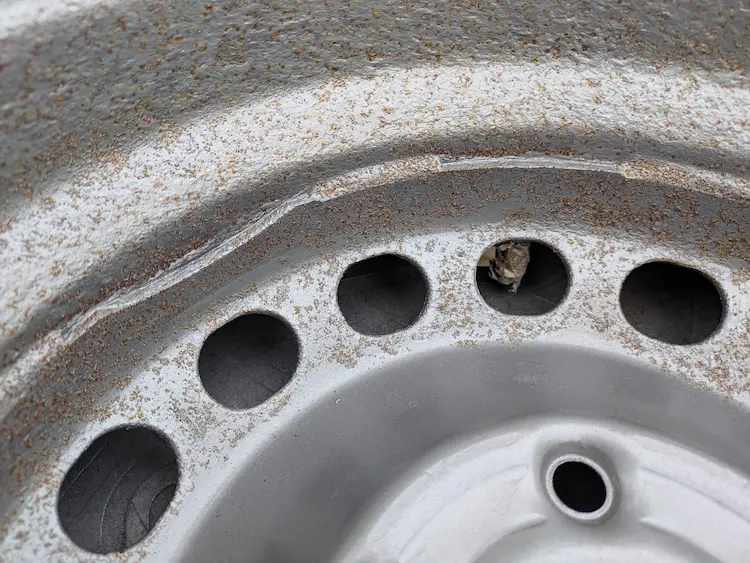
Step 1: Rust and Dust Removal
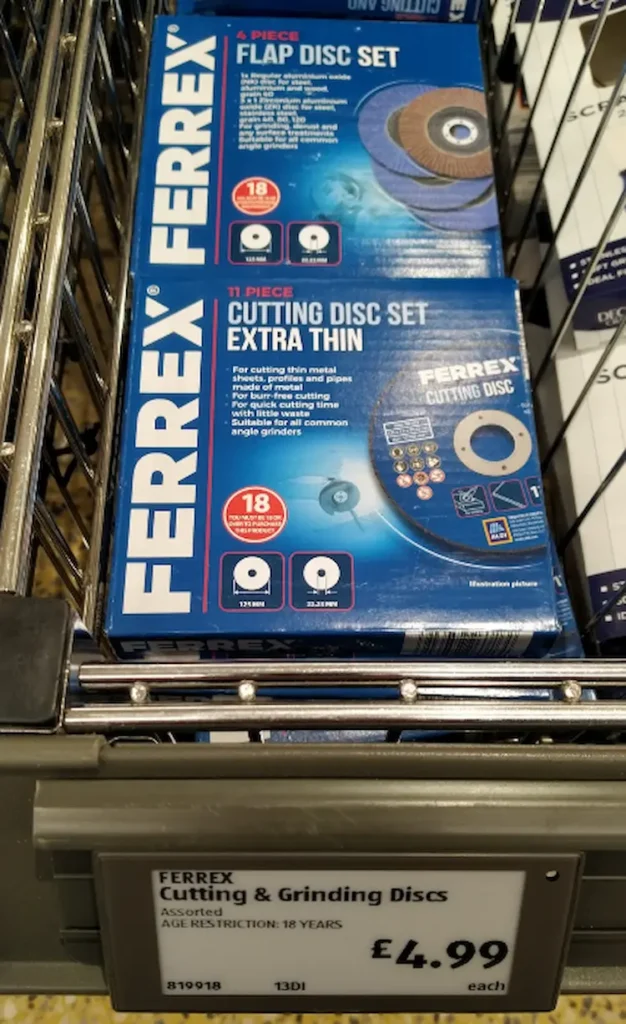
Sandpaper alone wasn’t going to remove what looked like years of caked on brake dust and rust and dirt so I decided to call in the big dogs and attack these with my angle grinder.
Aldi Middle Aisle took the win again here, they just happened to be selling a four pack of flap discs for £4.99:
I also bought a steel wire cup brush off of Amazon for £5.72:
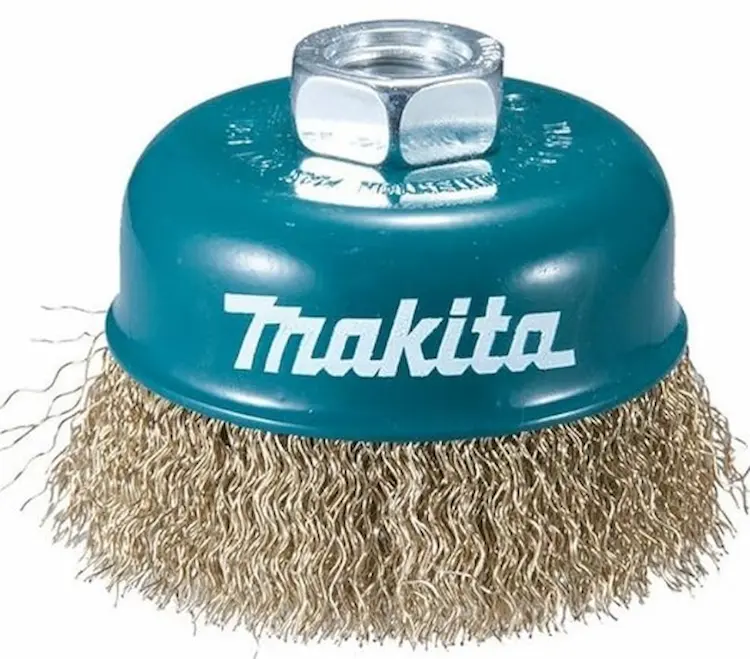
Available here:
It was around this time my middle daughter S started showing an interest in cars. We’d recently attended ’10 of the Best’ at Elvington Airfield near York which turned out to be a core memory event I think.
As we were walking through the open pit admiring the cars that were racing we got speaking to the driver of an Audi TTRS called Robert Kokosza who had been going crazy on the drag strip all morning. P’s middle child, H, and S were invited to sit in the Audi TT, start the engine and give it a rev! This blew both of their minds and they were both very excited afterwards.
Since ’10 of the Best’ S had been helping me with various bits so I drafted her in to help me attack the dirty wheels.
I removed all of the wheel weights first then we began sanding away all the dirt, grime and rust.
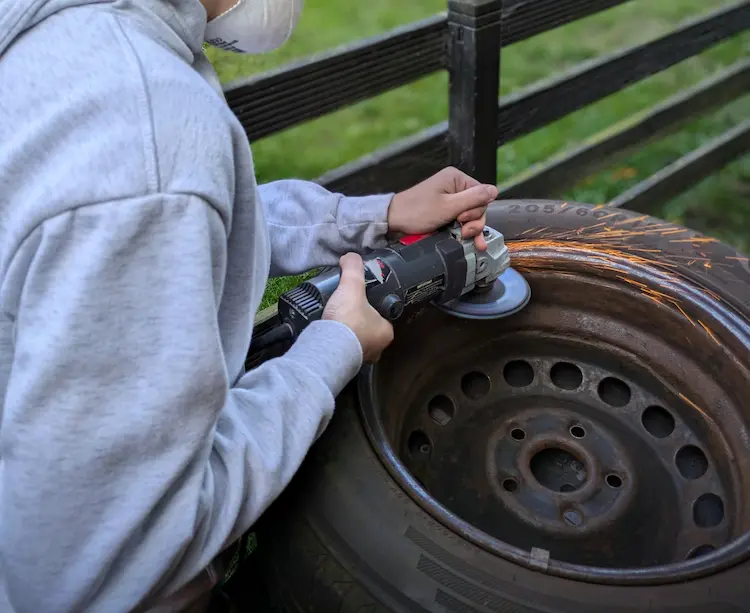
Over the course of the next couple of weeks we spent an hour or so each day after work/school grinding away all the built up dirt until we had (almost) bare metal wheels.
Optimus Prime(r)
Next step (in my fully skilled up painters brain) was obviously primer time.
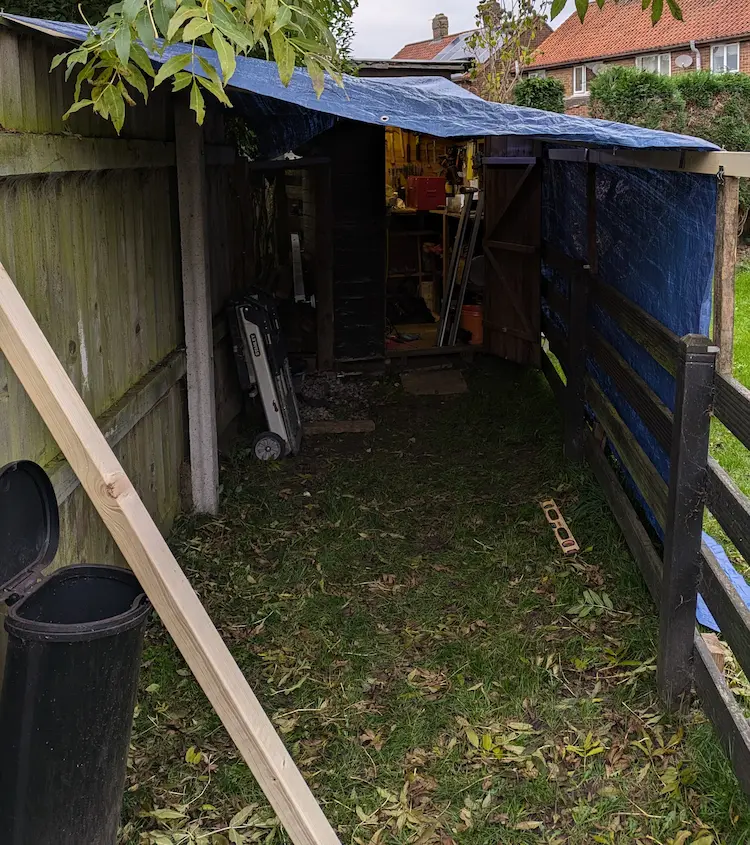
Because I wanted the wheels to look their best I obviously needed a painting booth to stop anything falling into the fresh paint. Luckily P had a spare tarpaulin that he kindly lent me and I got to work creating a makeshift paint booth using the tarpaulin and a thrown together frame, from some spare lengths of wood P and I had laying around, out the front of my shed:

I’d purchased some tyre condoms (also known as “Wheel Refurb Tyre Masks) to protect my tyres from any overspray:
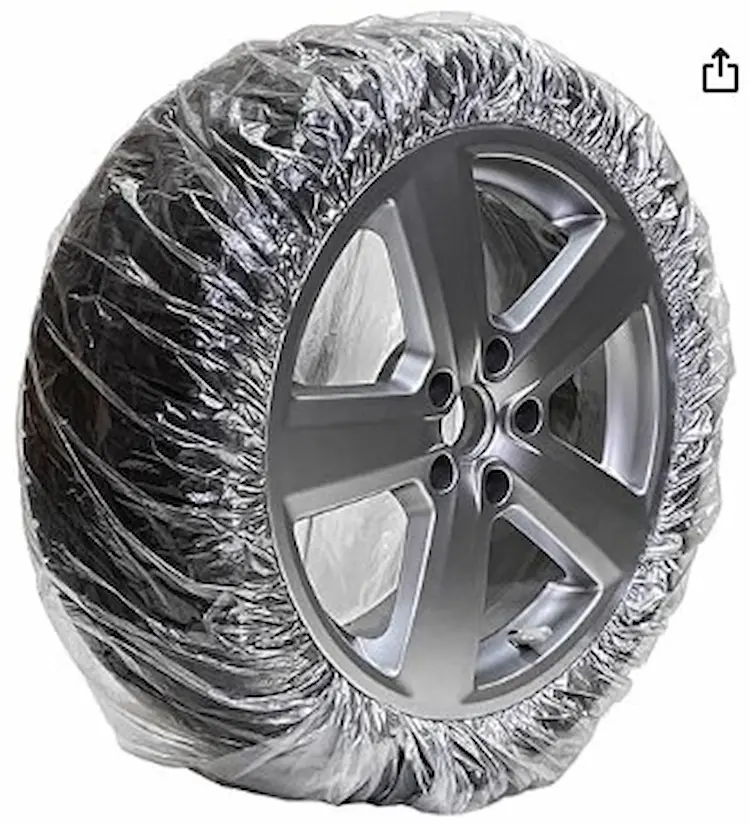
I put the tyre condoms on each wheel, placed an old sheet down on the grass, and I laid down the four wheels in my painting booth.
Weirdly, I didn’t take any photos of all the wheels laid out, this is the best one I can find:
I then started priming my wheels;
- I popped the primer spray cans in some warm water for 5 minutes (little nugget of info I took from P to bring the paint up to a nice temperature so it coats the wheel nicely)
- I took the can out of the water, dried any excess water off and then gave the can a good shake for a couple of minutes
- I then sprayed a thin layer of primer onto the metal surface, starting at the top and working my way inwards
- I then moved onto the next wheel, repeated and so on
- Once I got to the fourth wheel, I went back to the first one and sprayed a thicker layer on in the same way as before, making sure all the metal surface was covered
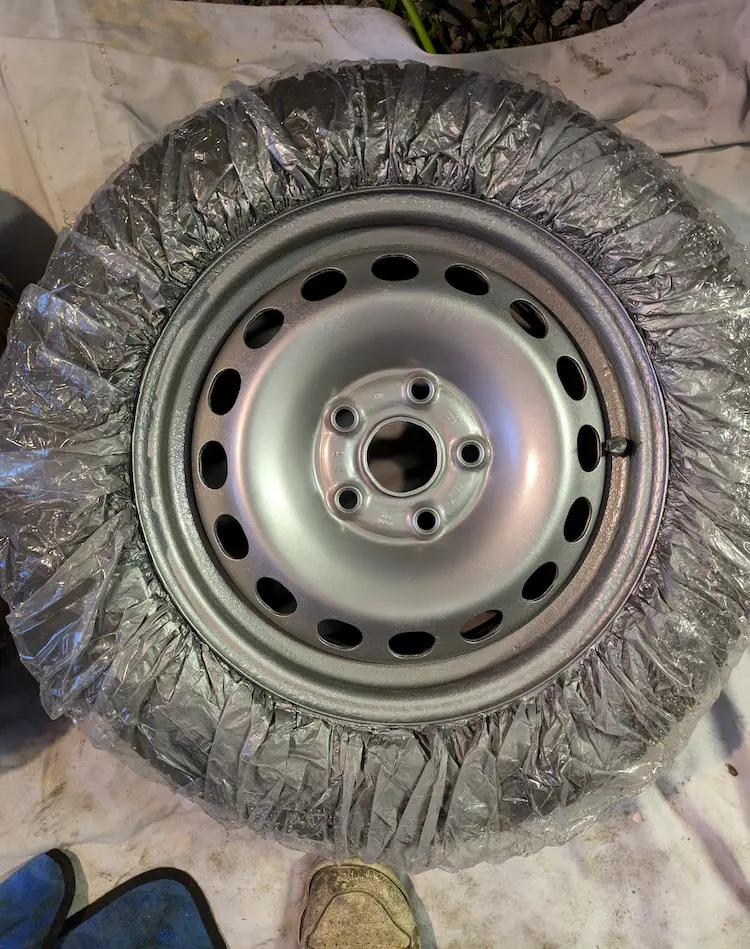
Once the primer was applied I left the wheels for 30 minutes. Whilst I was waiting I placed the silver paint cans in the warm water. After 30 minutes I repeated the above process with the silver spray paint on all of the wheels and was left with some nice looking wheels:
Finishing Touches (Part 1)
I left the paint to cure for 24 hours as per the instructions on the can. 24 hours actually turned into a week before I had time to come back and lacquer the wheels due to life getting in the way.
The weekend arrived though and whilst I was inspecting the painted wheels I noticed that the wheel condoms had actually stuck to the paint along the outer rim and when I peeled the condoms away, some of the paint came away with it, bollocks!
At this point I should have probably realised that my painting skills were lacking actual skills, but I didn’t.
I completely removed the condoms and for the first time in about thirty years I went to the shop and bought a newspaper.
(For anyone interested I bought the Daily Star, not 100% sure why I chose The Star tbf.)
I then got crafty and wrapped the tyres with the newspaper using masking tape (another Aldi Special Buy). On a video I watched I’d seen the person on the video use playing cards to protect the tyres too, so I went rooting through the shit cupboard in the kitchen and found a pack of playing cards.
Rather than laying the wheels down on the floor this time, I used a little wooden table and a workbench and just concentrated on two at a time, this way was a lot more comfortable.

I reapplied paint to the bits that had peeled off with the tyre condoms, and very patiently gave them 30 minutes out of the recommended 24 hours to cure before applying lacquer.
Then I began the lacquering. I used the jug of warm water method again, did a first coat with a light dusting followed by a second heavier coat on each wheel.
Then my wheels looked finished … kinda.
For some reason I assumed that the rough surface on the wheels from the little pock marks where the rust was, was going to be smoothed over by the lacquer. Turns out this hypothesis was completely wrong and made up in my head.
In all the excitement of wanting new wheels on my car, I think I got over excited and carried away with just wanting the wheels finished and on the car.
Back With a Vengance
All in all, I’d been working on and off getting these wheels “prepped” and painted across most of the summer and I lacquered them in late October 2024. (I’d done a few other car projects alongside the wheels that my next few blogs will be about).
After I lacquered the wheels the weather turned wintery and rainy and I still needed to get the wheels balanced so I benched Project Wheels (quite literally popped them on my workbench in the shed) until the following spring when I could put them on the car after a Full Fr33thy when the weather was nicer and the visual impact would be better and more satisfying.

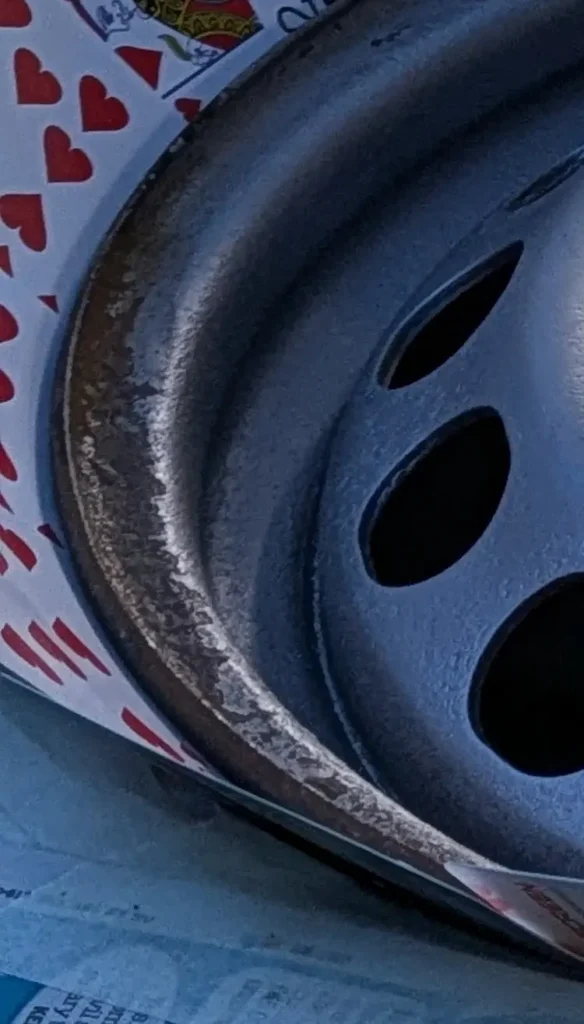
So, it turns out that proper preparation of a material before painting is actually quite important. If you don’t do the proper preparation, the rust that you think you got rid of actually just went into hiding and then if you leave your painted wheels in a shed over the winter, the rust sneaks its way back in underneath your paint and shows through.
And yes, it does look totally shit!

Lesson learned: proper preparation is key I guess and at least I’ve learned that if the prep isn’t done properly this is the result.
Also, there’ll be another follow up blog on these wheels; Wheely Cheap(ish) Shoes (Part 2)
Thanks for reading (and sharing my pain)
Obi xx