Issue 1
A good few years ago we had shitty internet and Netflix would often stutter and buffer when we were trying to watch it. Mrs Obi and I were sat in the living room one day whilst the girls were watching TV and it started to lag out, all of a sudden the eldest one shouted “quick, shake the lamp” then the middle one and smallest one jumped onto the arm of the sofa and started shaking the lamp in the corner of our living room. We never did figure out what led them to believe shaking the lamp would stop the TV buffering.
My First Real Issue
Occasionally, when the girls were getting into the back of the car, the driver’s-side rear door wouldn’t open from the outside. When the central locking unlocked, it sounded like the lock would open partially, then lock again. After a few unlock/locks using the remote, the door would eventually unlock. The girls, however, figured out their own trick; one would get in the passenger side, signal to each other through the window then they’d shout “1… 2… 3…. GO!”, then they’d both rag on the inner and outer door handle, pulling on it over and over, until the door gave up and opened.
A quick visit to Google and I was introduced to a common VW Golf fault; faulty door actuators.
Lesson time: Door actuators are small electric motors inside car doors. They electronically lock and unlock the doors when the button on the remote is pressed. When the button is pressed, it triggers the actuator that moves a mechanism that engages or disengages the door lock.
From what I read, it was a relatively easy fix so I did some eBay searching and found these:
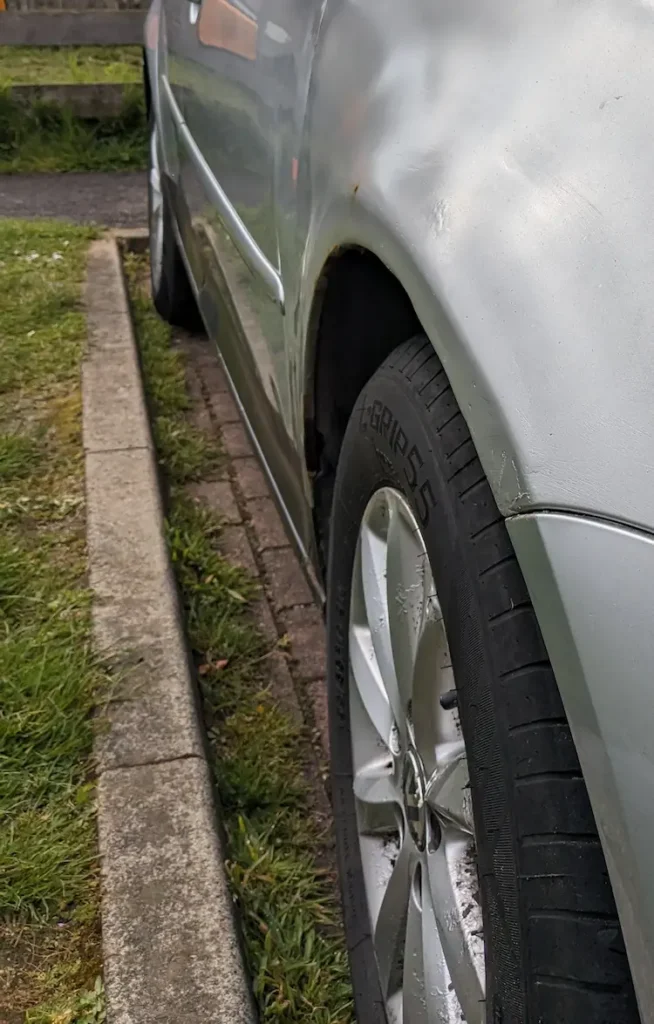
Both my rear doors were beginning to show the same fault as well as the driver’s door, the cost here was starting to add up and I really wanted to get my door and my wing fixed too! This seemed like the perfect opportunity to do a few jobs in one go; I needed a plan.
Road Trip
About an hour from home there’s a magical place, a place full of wrecked, broken and smashed up cars, a place where you can go in with your little tool kit, a high viz and a little wheel barrow and just take bits off broken cars, a super fun place called U-Pull-It!
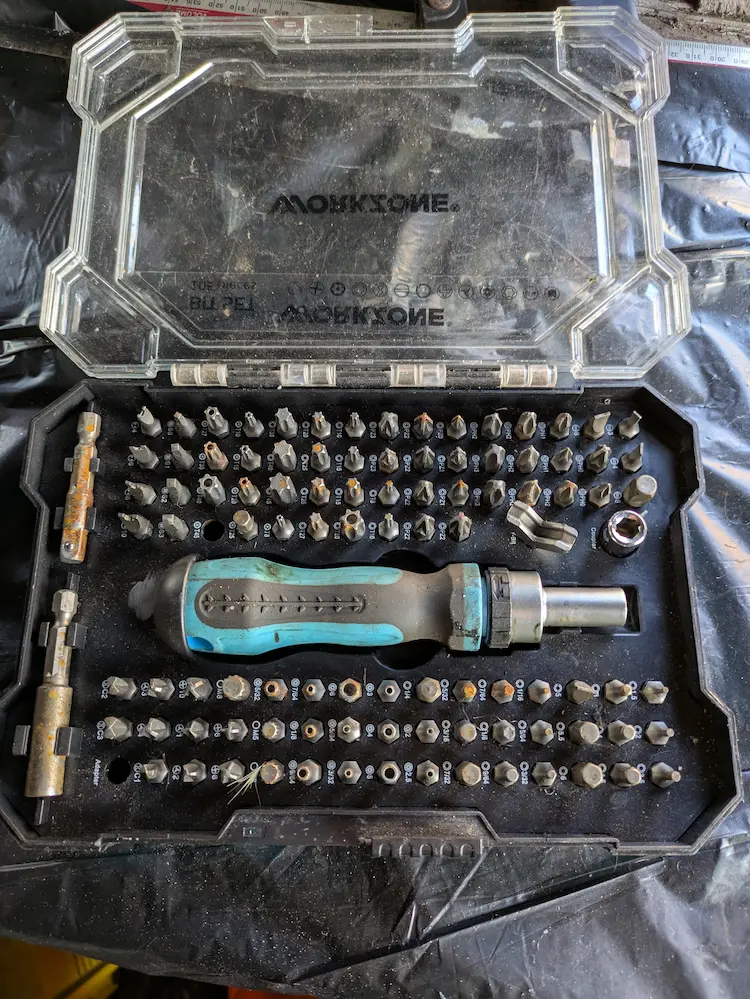
I had the day off work so I grabbed my little bundle of Aldi tools, including a little screw driver set with many, many useful attachments and bits
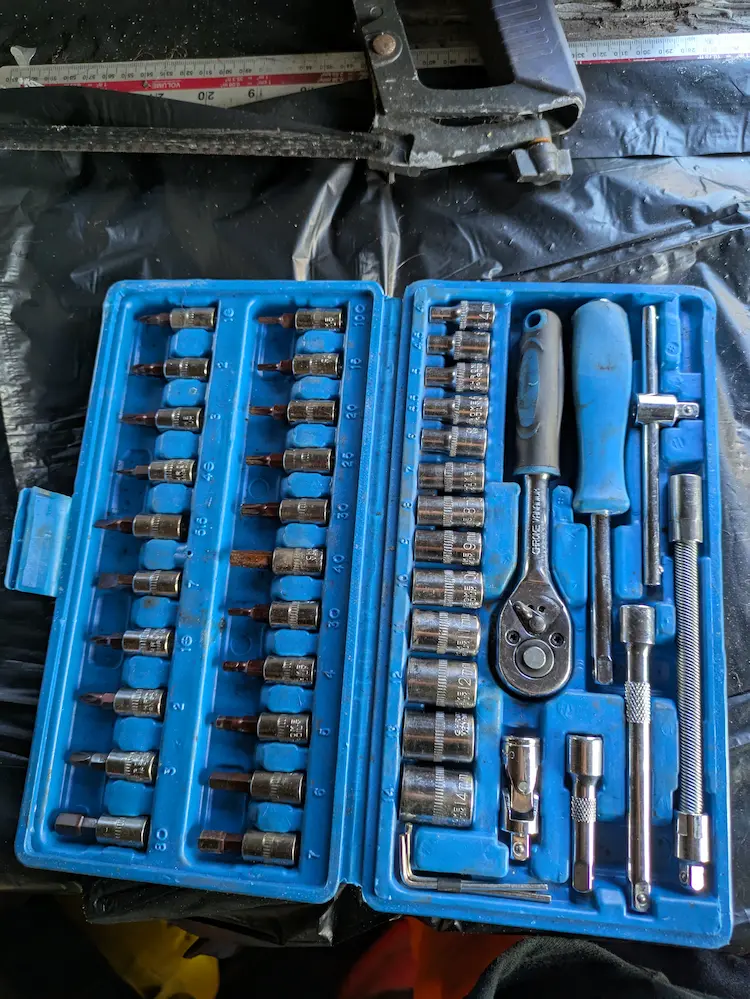
I also recently bought a little 1/4 inch drive socket set from Euro Car Parts on offer for £12.99 that I packed in my tool bag along with a couple of screw drivers, an adjustable spanner, Stanley knife and a pair of pliers
https://www.eurocarparts.com/p/top-tech-1-4-socket-bit-set-46pc-529770361
I stuck the tool bag in the boot, dropped the smallest child at school then set off to the grown ups version of Toys ‘R’ Us.
Adventure Time
I arrived at U-Pull-It about an hour later, I jumped out my car, grabbed my tool bag, paid the small fee to the nice man at the desk and signed in, then I ventured forward into the Adults play area in the back.
For anyone who hasn’t been to U-Pull-It, it’s one of the few scrap yards left where you can go and climb around the cars by yourself, in-person. All the scrapped, crashed and damaged cars are all set out in sections in a massive yard. All the Fords are together, All the Audis are together, all the VW’s are together and so on. The VW section was immediately to my left as I walked out the back door. There were about 15 rows, all about 6 cars deep, so quite a fair selection of VW’s to play with.
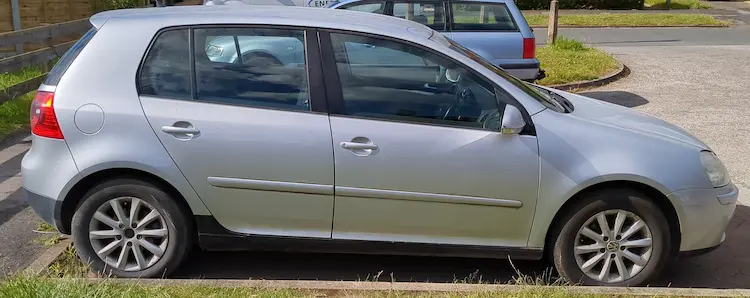
I started my search for any silver Mark 5 Golfs with a good driver’s door skin and/or front wing; the first silver one I found had a lot of front end damage, the wing was missing and the driver’s door was caved in. The second one I found had a pretty badly rusted wing but the door seemed good, apart from the exterior trims were black plastic, whereas mine have body coloured trims, I thought about taking this door skin and swapping the trims over but they didn’t look that fun to remove and I was a bit worried about damaging the good trims whilst removing them. The third one I found actually looked ok. Both the door skin and wing had some small, shallow scratches but no dents and no rust so I selected this one as my victim.
Harvesting Skins
All the vehicles in U-Pull-It already have their wheels removed so I began by delicately removing what was left of the wheel arch (that had already been partially removed) by attacking it with a Stanley knife and a pair of pliers and ripping it out. I chucked the arch into the back of the car and started unbolting the front wing.
I fiddled around behind the arch liner, experimenting by undoing various bolts and torx screws until I eventually managed to get the wing loose, I carefully lifted off the wing from the donor car and popped it into my wheel barrow. I found my favourite thing about U-Pull-It is you can learn by doing without worrying about damaging your own car.
For reasons unknown to me, (I wouldn’t actually be surprised if P knows why), when the designers at Volkswagen designed the door skins on the Mark 5 Golf (and possibly other VW’s, they made the awesome decision to bolt on the door skins rather than weld them on. This means that any damage to a door panel means you can just buy/harvest a new door skin and replace it yourself quite easily with every day tools.
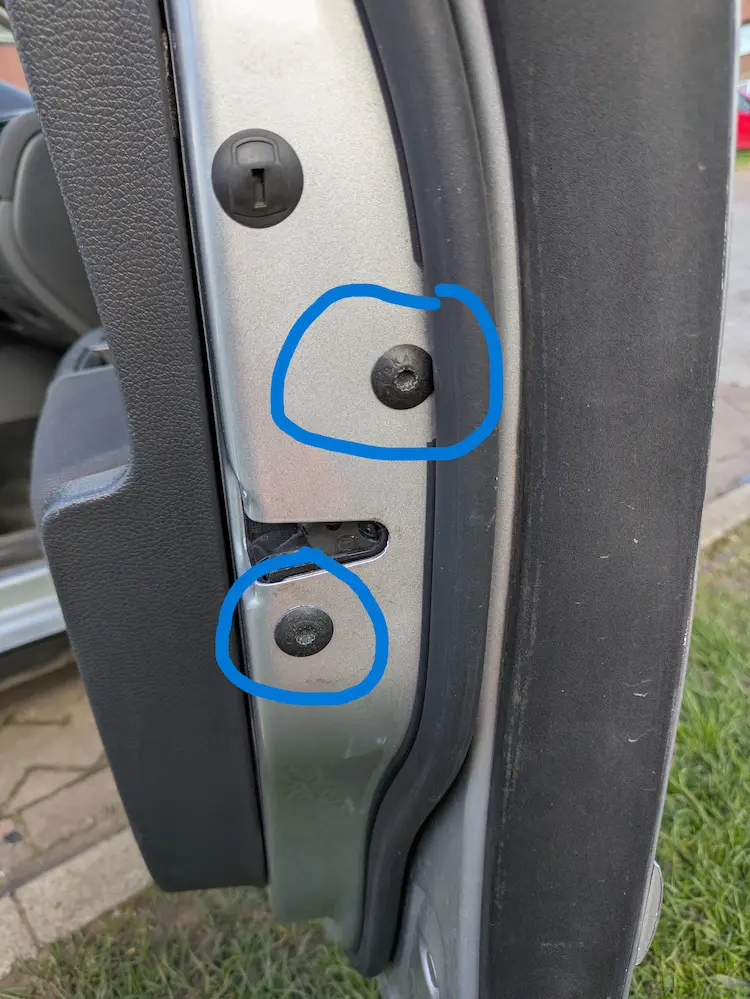
Moving on to the door skin removal I found a black plastic strip on the edge of the door. I used a flat head screw driver to pull the corner out then simply pulled it off popping off a few plastic clips. This revealed some torx bolts; during the dismantling process I found out that the torx bolts that hold the door skin on are different lengths. I unscrewed all the bolts; inside where the door hinges are, I found a hidden torx bolt behind the wiring loom that I didn’t see at first.
Once the torx bolts were all removed I had to remove two M6 spline bolts from the top edge of the door
Then I had to remove a little grey sticker that revealed a secret hole, in that hole there was a hidden T20 hex bolt, I unscrewed this until it wouldn’t unscrew anymore (it is designed this way). Unscrewing the hidden torx bolt allows the locking barrel to be slid out. Once the barrel has been removed a tiny hex bolt needs unscrewing and a cable unclipping, which allows the door handle to be slid out like in a banana-style motion.
Now the door skin was completely unsecured and I simply gave it a yank and a wiggle upwards and removed it. The door skin joined my new front wing in my little wheel barrow.
Acquiring Actuators
Once I’d claimed my new skin and wing, I moved onto the door actuators; I needed both rear doors and the front drivers door. I repeated the process from above, removing each door skin to gain access to the door actuators. The spline bolts on the edge of the door hold the actuators in place, once the skins are removed there’s a metal frame that slots over the actuator. There is also a wiring loom that need unplugging in the front of the actuator, so I unplugged it. Then I simply removed both components and plopped them into my wheel barrow. I repeated this process three times to get each actuator. The actuators are ‘sided’ so it matters which way they go in when you re-fit them.
Once I’d collected the bits I went for I had a little wonder around the rest of the yard just because I was having the best day ever! I was there around two hours in total. Once I’d finished having fun I went and paid; all in, it cost me £56. I packed the bits into the car along with my tool bag and drove home.
The Re-Fit
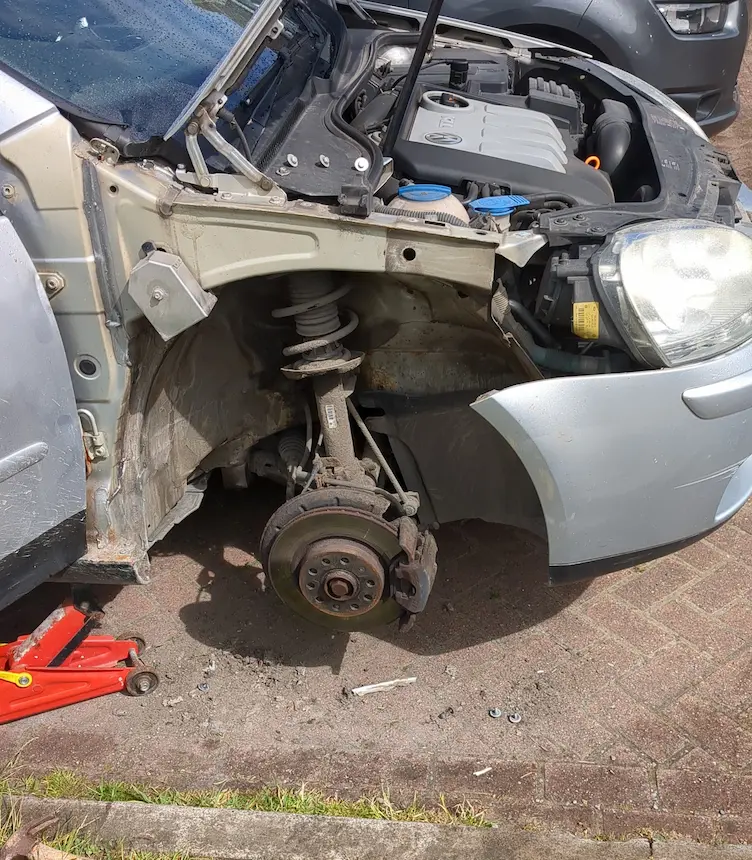
The next day I grabbed my tools and began stripping my own car down; I jacked the car up and removed the driver’s-side wheel . The only difference today is that I took a lot more care and kept hold of all the bolts that I took off because now the car being taken apart is my own, so rather than using a pair of pliers and a Stanley knife, I opted for a T25 torx bit to unscrew all the torx screws in the wheel arch and carefully removed it.
Note: There is a hidden torx screw that pinches the bumper and the wing together, don’t forget to take this sneaky little fella out.
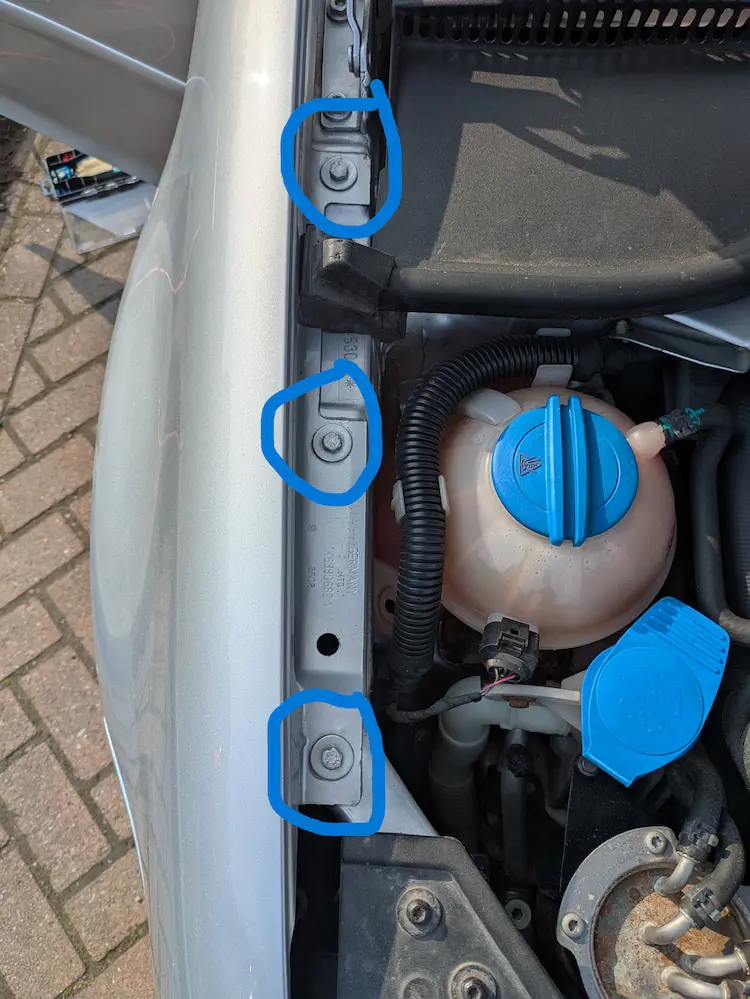
Once I’d removed the wheel arch, there are two 10mm bolts at the bottom-outer rear of the wheel arch. There are a couple more bolts above, that, for me, were hidden under some anti-rust sealant that needed scraping away first. I then had to pull the bumper outwards and undo two more bolts hidden behind the it. Then there is a T30 torx screw between the door, then finally, there are three 10mm bolts underneath the bonnet.
Once all the bolts were removed, with a little bit of persuasion and some mild wiggling, the wing simply came off.
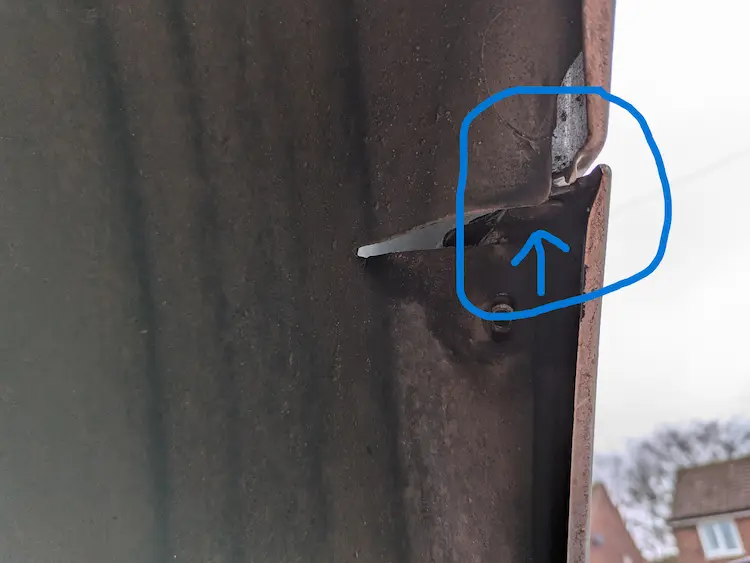
Now, I really love how the designers at Volkswagen made the door skins easily replaceable, but boy did they drop a bollock when they decided to stick a big lump of foam behind each wing! These lumps of grey foam are meant to deaden some of the sound or whatever, but in reality all they do is soak up lots and lots of water then rot away the wings from the inside out! If you ever get chance to remove this lump of foam I highly recommend doing it before the rust monster comes to visit!
I re-fitted the new wing and attached it by doing all of the above in reverse and moved onto the door.
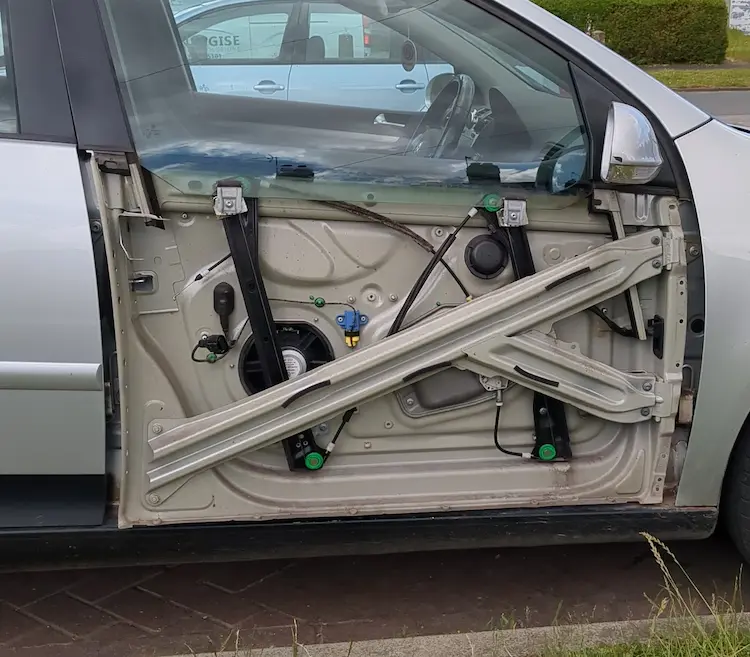
De-skin, Re-skin
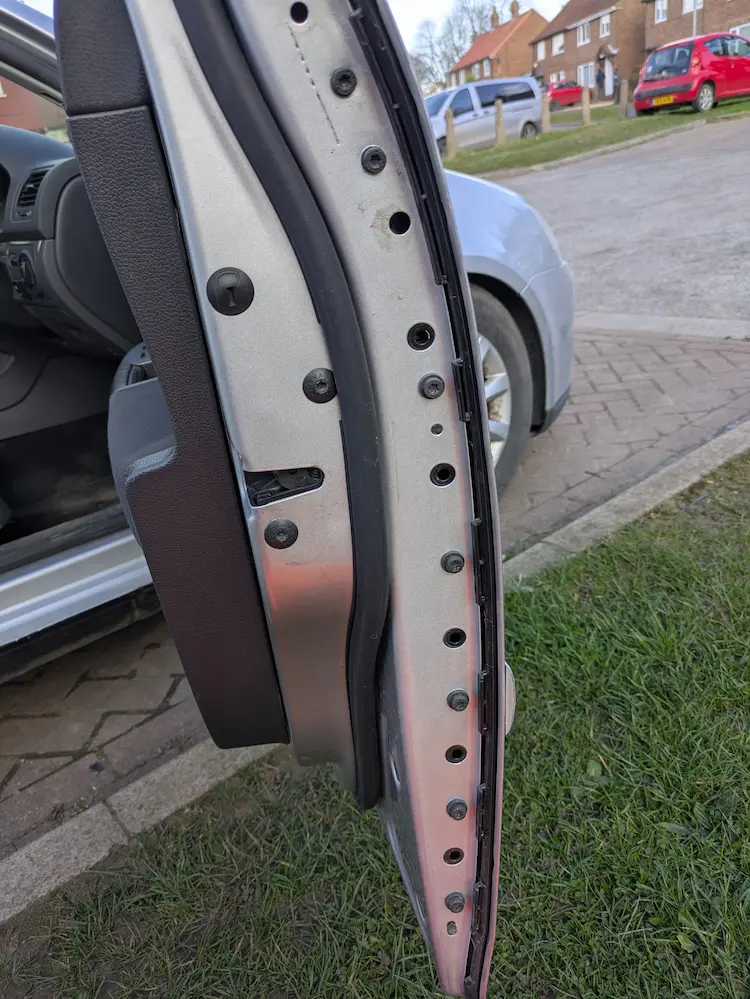
I started by removing the plastic strip on along the edge of the door to reveal all the bolts holding the door skin on. There are seven T30 torx bolts down the outer edge, six more T30’s that run along the underneath of the door, then five more that run up the inner side of the door, where the door hinges are located.
This time I left the spline bolts that hold on the actuator and just concentrated on the T30 bolts. Because of the length-size difference of the bolts, to keep them in the correct order that I removed them, I grabbed a card board box and each bolt I removed, I stuck into the card board box in the right sequence/position so I knew where each bolt went when I put everything back together.
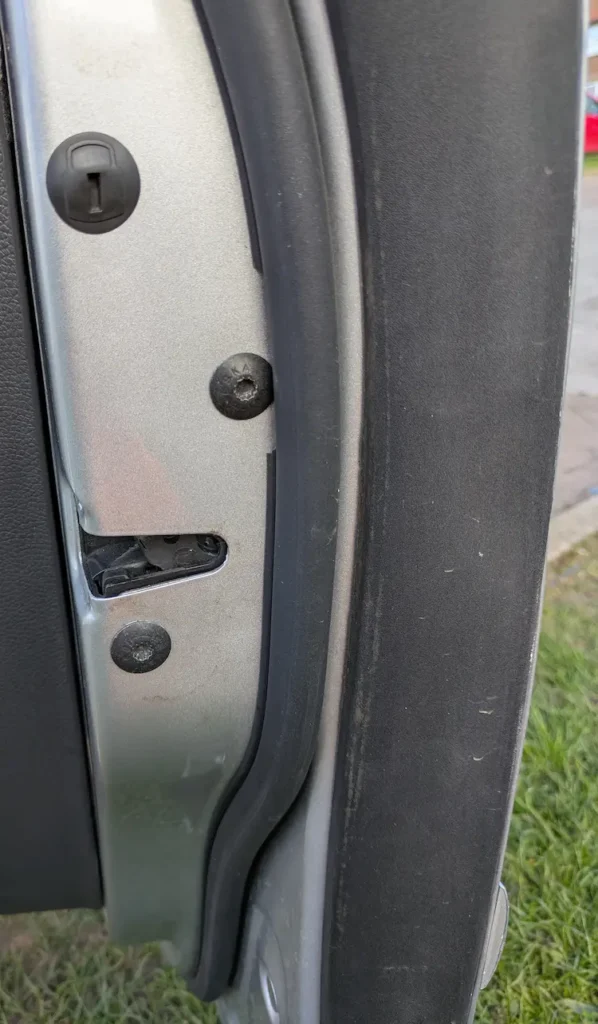
I then unscrewed the hidden T20 torx locking nut located underneath a circular grey sticker, inside the little hole and popped out the lock barrel next to the door handle.

The little hex nut was next, then I popped off the cable and pulled the door handle out (banana motion). Then I wiggled the damaged door skin off and placed it on the grass.
I had noticed that the door skin I’d taken from U-Pull-It had a mossy green weather strip running across the top and the one I’d just taken off my car looked clean, so I did a little on the spot replacement. I took the door skin I’d just removed and I removed the weather strip. I had to pop out all the little plastic rivet-type clips on both doors and swap the good one for the bad one, then push the little rivet bolts back in. It didn’t take long but the little pop rivets where quite tricky to remove and I damaged a few, luckily I had two doors worth of pop rivets and only needed one doors worth.
All of this so far had been a breeze (even for a Mekanik of my calibre) but now for the first time I struggled a little. Getting the new door skin to fit back on the door was quite fiddly, there’s a knack to it and it takes a while to manoeuvre it into the right position. If its on properly, all the bolt holes should line up nicely (obviously), but it also pushes/clips on and stays in place without any bolts holding it, this is the tricky part. I had to take it off and try again about ten times before I finally got it to sit right.
I then replaced all the bolts back in the right order using my card board box template, bananered my door handle back in, replaced the small hex bolt, replaced the barrel, screwed the hidden bolt back in then replaced the plastic strip.
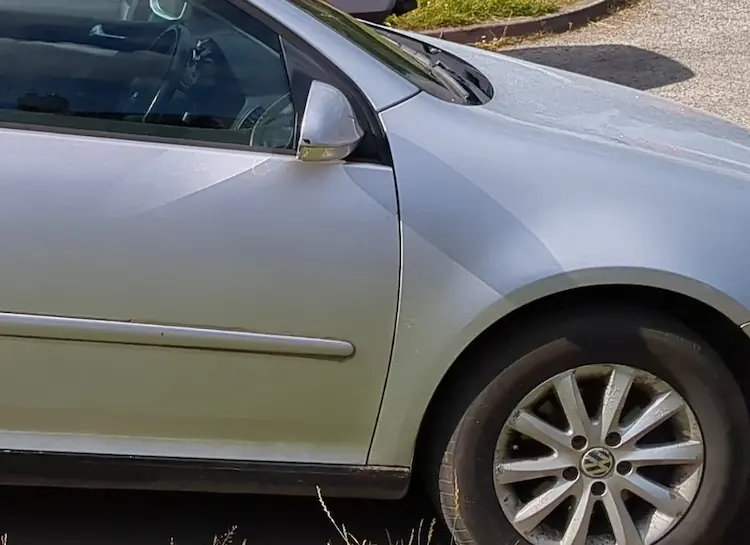
Mission accomplished! I’d gone from this
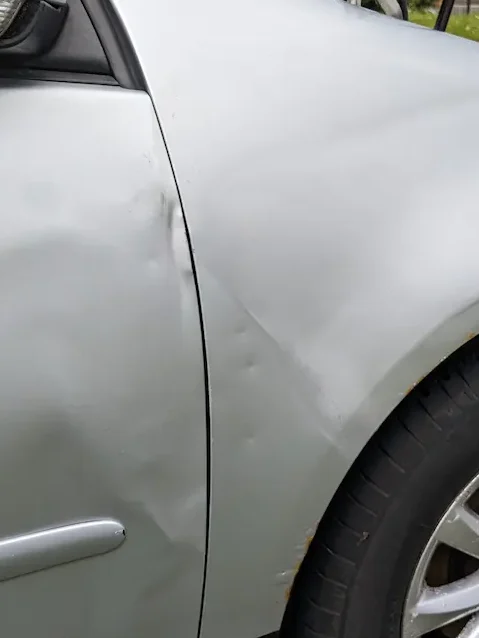
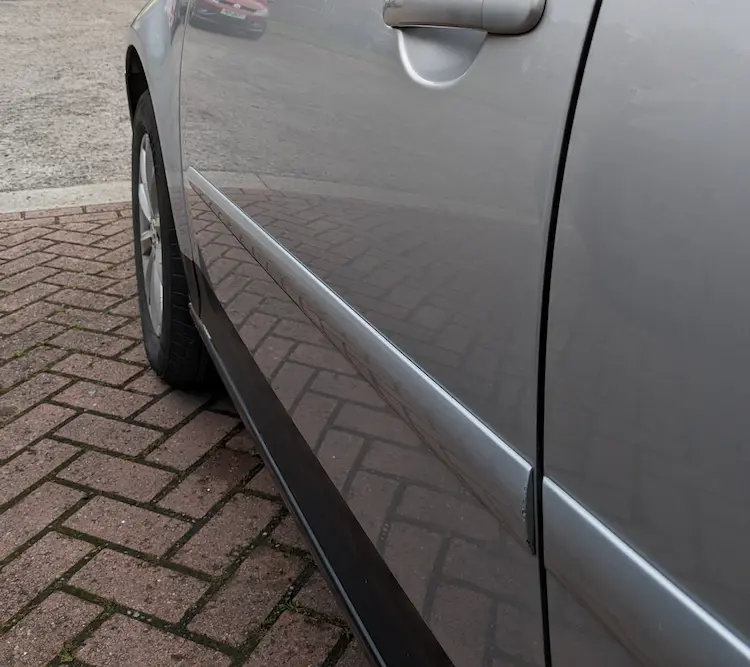
To this
Door Actuators x3
After de-skinning the driver’s door, I could now set a routine up;
- remove plastic strip from the edge of each door
- undo all the T30 torx bolts along the edge, bottom and inner edge (placing them into my cardboard box in the correct sequence)
- remover circular grey sticker and undo the hidden T20 torx bolt
- pop out the barrel/cover
- undo the small hex bolt
- banana the door handle out
- de-skin the door
- undo the two M6 spline bolts on the edge of the door
- unplug the actuators
- remove the old actuator
- replace with new-old actuator
- then do everything in reverse
- move onto the next door and repeat
All in, the wing, drivers door and all the actuator replacements took me about three and a half hours (including coffee breaks) and not many hiccups.
End result: super satisfying!
A Cover-Up
One thing I really, really didn’t like about the Golf was the weather proofing Waxoyl the previous owner had put on the car. I can understand why the sills had been Waxoyled, it partially hid the big old welding scar and attempted to prevent any further rust appearing. What I didn’t understand, was why they had done a four inch strip along the bottom of the doors too; possibly laziness and lack of care because the inside of the door sills were spattered with it too.
I wasn’t really taking many pictures when I first got the Golf, these are the only pictures I can find of the Waxoiled doors
And again here
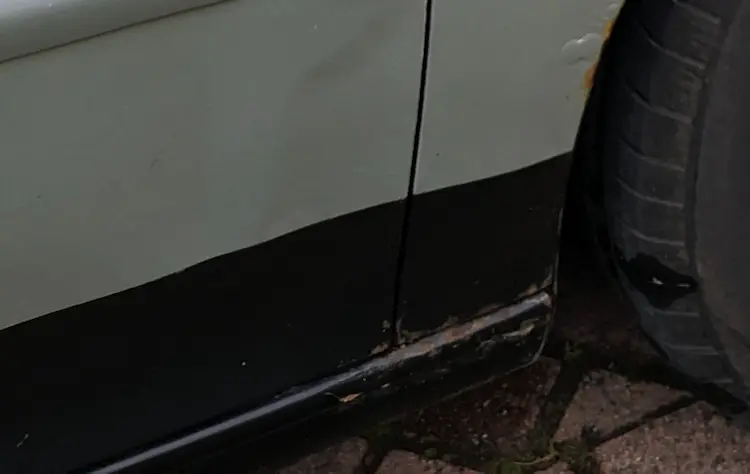
and again here
What made it worse now is that I’d replaced the driver’s side door skin and wing, so the Waxoyl strip only went across the back door on one side and all the way across the other side of the car. Not only was this ugly but it wasn’t even symmetrical now and I really like symmetry!
Lesson time: Waxoyl is a rust proofing product used to protect vehicles and metal from corrosion. It’s designed to prevent and inhibit rust by creating a protective, waxy barrier that stops moisture, salts and other corrosive elements.
Waxoyl texture is thick and kind of rubbery, it sticks to the metal surface like a rubbery paint.
I did a little bit of Google research to see if there was an easy, or easy-ish way to remove it. One of the methods I found was simply using some White Spirit. My luck was in, I had a big bottle of White Spirit in the shed and for extra bonus points, I love the smell of it!
I grabbed a few rags I had in my shed and poured a splash of White Spirit on then began to try and clean the strip off the bottom of the rear-driver’s side door. The White Spirit worked quite quickly, and soon enough, with a little bit of scrubbing, I’d removed the big, ugly strip from the bottom of the door.
I then moved on to both the inner door sills; I taped off a straight line as close to the edge of the sill as I could and cleaned off all the excess Waxoyl splashes and spatters.
I then moved to the passenger side and did the same thing. I intentionally/accidently left the Waxoyl strip on the rear quarter because at a distance, say 500 metres away, with your glasses off, and with your eyes squinted, it almost looks like I’ve got GTi side skirts on.
Anyway, the end result from all of this was nice and the Golf was starting to look pretty.
I still wasn’t happy with the big chunks of metal that has been welded onto the sills, it still looked ugly close up but for now, until I came up with a better plan it would have to do.
Thanks for reading
Obi xxx