Time to Make it Shine and Make it Mine
For me, the worst thing about buying pre-preowned cars isn’t the high mileage or the not knowing what work has/hasn’t been carried out, or the not knowing if the car’s been serviced properly and looked after, or not knowing if the seller has hidden something sinister about the state of the car, or if the wheels aren’t tightened up properly, it’s the fact that somebody else has farted into the drivers seat and the sponge has soaked up all those strangers farts and collected them over many years.
The Baptism
I remember this being one of the longest weeks of my life; I bought the car on a Sunday evening and I didn’t get chance to clean it when I got back home. I also remember the weather was absolutely shite that week, it rained all day every day, Finally, the following Sunday the rain stopped and I could finally play with my new Car!
Cleaning my car is like therapy for me. It relaxes my mind and gives me a break from the real world for a few hours whilst I concentrate on making my little shit box shine. I enjoy all the different types of cleaning, from a quick wash and dry, a quick hoover, right the way through to a Full Fr33thy.
Fun fact: Fr33thy is a content creator/PC optimiser who primarily focuses and specialises in gaming PC optimisation and maximising system performance. P and I enjoy gaming and after following a few of his complex tutorials we now refer to anything needing an in-depth and detailed procedure as a “Full Fr33thy”. His YouTube channel can be found here if anyone is interested in that type of thing:
https://www.youtube.com/@FR33THY
A Full Outer Fr33thy
Everyone will have their own favourite potions and budgets for cleaning cars, mine is Autoglym Bodywork Shampoo and Conditioner. I find it cleans the car well and also smells lush!
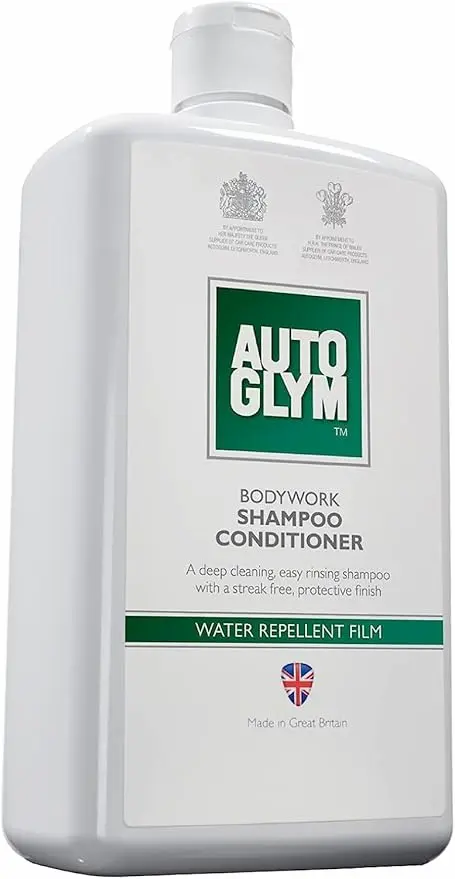
The first step of washing my car “properly” is to drag my 656 metre hose pipe (remember I’m in a car park, I also might be exaggerating the length of the hosepipe a bit) and spray the car down, then I grab my micro fibre wash mitt and a bucket of warm water with a cap full of Autoglym.
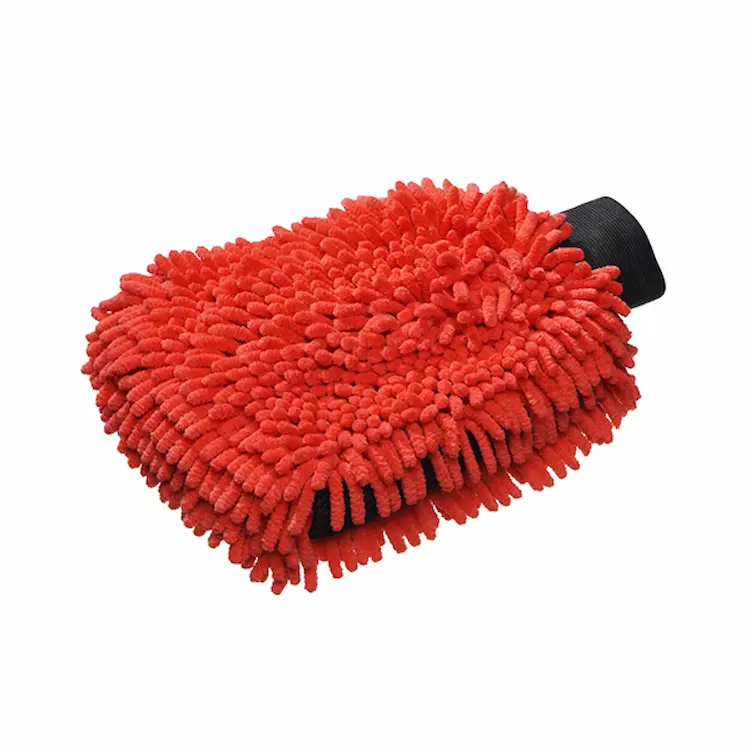
I give the car a good contact wash followed by a rinse from the hose pipe. Then, I refill the bucket with another cap full of Autoglym and grab a clay mitt. I use the G3 Pro Deep Clean Clay Mitt but you can get other ones.
Lesson time: A clay mitt is a special little wash mitt that helps remove stubborn dirt and muck. The clay surface of the mitt helps to remove things like tree sap, road tar and any other stuck on contaminants.
The clay mitt has to be used with some kind of lubricant, you can buy special clay mitt lubricants but I’ve always just used car shampoo and it works fine.

Dip the mitt into the bucket, then with a light to medium pressure, re-wash the car but this time spend a bit more time on each panel. I split each panel into mini sections and rub from side to side about an arms length, then do the same area but wipe up and down instead. You can feel all the bits of tar, grime and dirt stuck in the paint work as the clay mitt drags all that crap out and leaves the car looking and feeling amazing! Before using a clay mitt I’d never in a million years think of describing the feel of a car as “soft” but the panels do genuinely feel soft afterwards. Be aware, if you press too hard or don’t have enough lubricant on the mitt, you can slightly mar the paint or transfer some of the clay residue onto the paint work, just like I did.
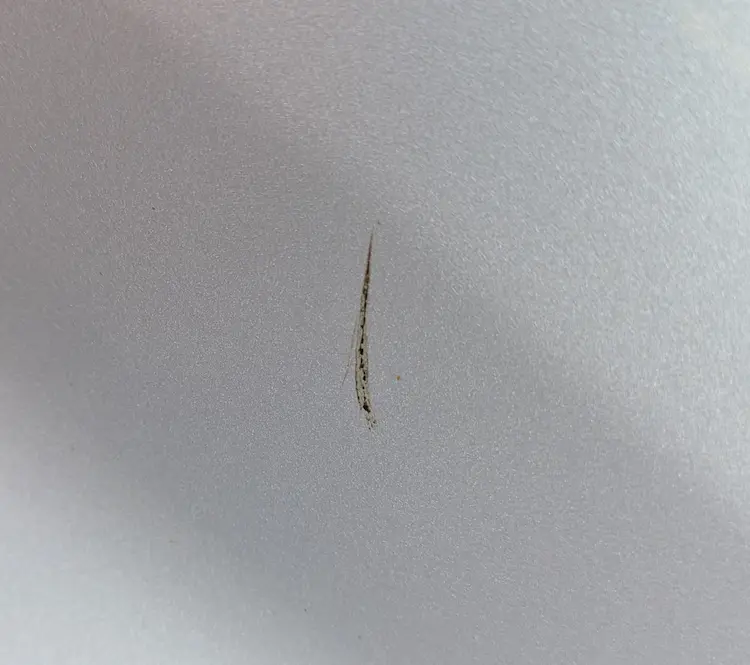
Don’t worry though, with the right stuff this usually is quite easily fixable (I’ll get to this soon). After a good clay mitting session on a section, I like to rinse it off before moving onto the next section just to get rid of any soap residue. I don’t just use the mitt on the paint work either, I do all the windows too, this really makes a noticeable difference afterwards. Once the full cars been clay mitted, I get my big drying towel.
Please, please, please don’t just use any old rag or old towel from your garage, your drying towel should be special, you need to care for it like a small child, wash it separately without any fabric conditioners or smelly chemicals, keep it clean and away from dirt, if you drop it on the floor DO NOT pick it up and carry on drying your car with it because you’ll just be dragging grit and stones all over your nice clean car, scratching the shit out of it! This is the towel I care for:
https://www.halfords.com/motoring/car-cleaning/materials/meguiars-supreme-drying-towel-462782.html
Fixing Fuckups
Next in Obi’s “Professional” Detailing Class (The OPDC) we will talk about paint correction and making everything look all shiny and bright. Some Meguiar’s Ultimate Compound is going to make you superior to all the rival dad’s down your street and also remove any clay transfer from when you fucked up your clay mitting:
Lesson time: A compound (in the world of car detailing) is an abrasive liquid used to remove imperfections in car paint. It gently sands down damaged layers of clear coat and gets rid of scratches, scuffs, paint transfer and oxidation.
Michael Fibre
Using a couple of clean microfibre cloths (again, if you drop one on the floor it’s useless and you shouldn’t use it anymore until its washed), you can either do full panels at a time to shine the full car up or you can simply go around and get rid of any little scratches and imperfections.
When I first got the Golf I did all the panels, after a clay mitt session, just to get the panels looking fresh and clean. The best bit is, Meguiar’s Ultimate Compound lasts forever, you only need a small pea sized blob, then circular motions with one of the Michael Fibre cloths until the compound has worked in, you can see the scratch disappear then using the other Michael Fibre cloth, wipe it all away; a wax on, a wax off.

Waxolotl
The penultimate step in OPDC-ing your 20 year old Shitbox is some quick wax, I use Meguiar’s Quick Wax
I spray a light coating over each painted panel, then wipe with another (clean) Michael Fibre cloth. This seals the car and stops dirt sticking to the paint making it look amaze-balls and also making the next wash easier. I’d avoid spraying the quick wax onto your windows, I’m not sure how that would turn out as I’ve not tried it.
Finishing Touches
The OPDC is a lot of work and does take a few hours but the satisfaction is definitely worth it.
For the finale, grab some bumper snot. This stuff will totally finish off the look of the car. Put a small amount on another clean Michael Fibre cloth and rub into any black plastic or trims. It revitalises and turns the faded grey back into a shiny deep black.
Bonus tip: P would punch me in the face if I didn’t mention tyre shine. Tyre shine really does finish off the look of your car, I totally agree with him. My wheels are fucked and ugly though, so I’m refusing to waste tyre shine on them until I get some new shoes for the car.
A Full Inner Fr33thy
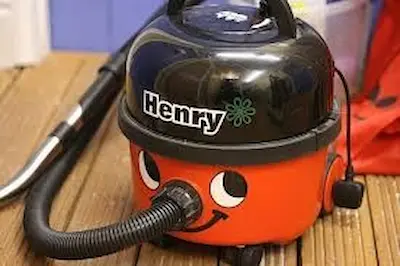
Let’s move onto the internal OPDC; firstly, if you don’t already have one I’d highly recommend a Henry Hoover for cleaning cars with (other pneumatic hoovers are available), nothing even comes close to their car cleaning abilities.
Remove the Front Seats
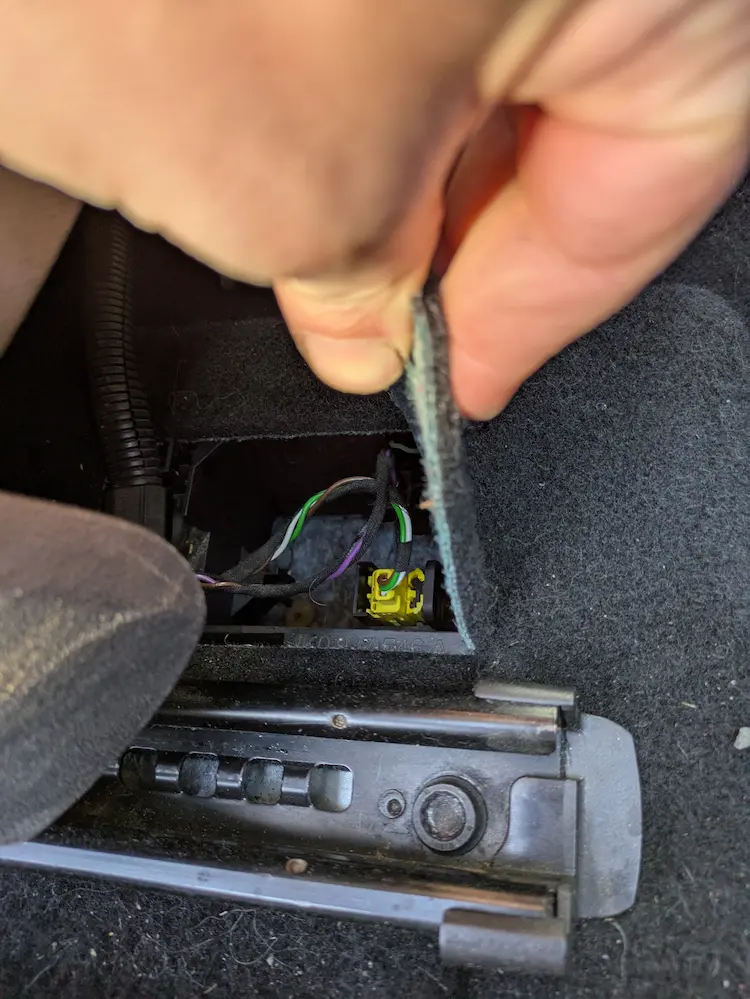
For the virgin clean of a new-old car I like to remove the front seats completely. To do this you’ll need to make sure the ignition is off and unplug the airbag sensors which are located underneath the carpets.
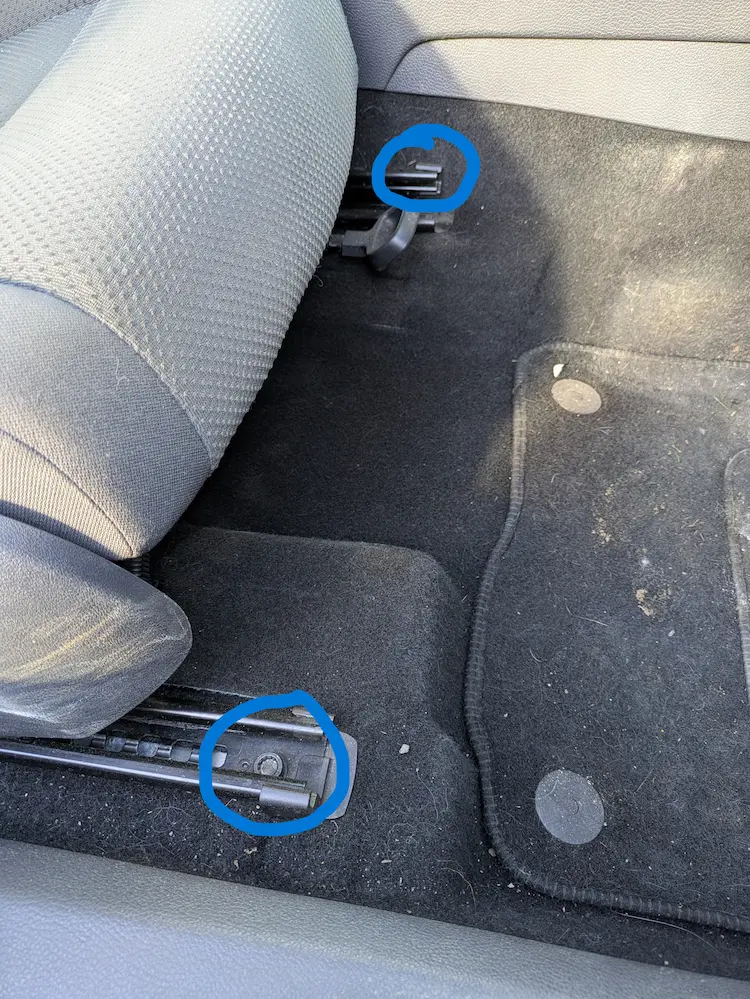
You’ll then need a 10mm 12-point socket. The four 12 point bolts are located inside the rails that the seats slide on, two at the front and two at the back.
The seats are awkward but not too heavy to get out, pop the seats safely to one side; in my case this is the grass in the carpark.
Now with the seats removed there’s plenty of room to climb inside and really get in deep with the hoover for a good old Hoover Fr33thy-ing. Once all the carpets and seats are hoovered I like to use some fabric spray. Now, I used to use a good foamy spray can from Morrisons that fluffed up like shaving foam but they stopped selling it and replaced it with a shitty, less foamy one so I’m currently between fabric sprays. I’m currently open to any budget friendly fabric cleaners.
Finishing Touches
I then like to use a dash spray (again from Morrisons) and a detailing brush to go over any hard plastics inside the car, similar ones to below
Lastly I grab some window cleaner and clean all the windows not forgetting to wind down the windows to clean the tops that are hidden inside the rubber seals.
Then I pop the seats back in, plug in the airbag sensors and smile with satisfaction at my first big Full Fr33thy.
Service Time
I’m trying to be as honest as possible about my knowledge base and my learning journey but sometimes you just know things and I’m not sure where you learn them; it’s almost common knowledge I guess. That being said, when you buy a new-old car it’s good practice to do a service. You very rarely know the full truth about how the car’s been driven and looked after, especially older cars.
Extra Virgin
Firstly, I Googled what oil is recommended for my engine. A quick Google search informed me that my 1.9 TDi uses 5W-30 fully synthetic engine oil. Exciting news, it’s 2024 and oil is fucking expensive! Time for some poverty-grade research.

Lesson time: The numbers on engine oil refer to the oils viscosity. Viscosity is how easily a liquid flows; treacle has a high viscosity and water has a low viscosity. The viscosity of engine oil is important because it needs to lubricate the moving parts inside the engine. The W and the numbers indicate how the engine oil behaves at different temperatures. The first number and ‘W’ indicate the oils viscosity at cold temperatures; a lower number means the oil is thinner and will flow more easily in cold weather which is essential when starting your engine. The second number indicates the oils viscosity at high temperatures and means the oil is thicker and will maintain its lubricating properties when the engine is hot.
During my research I discovered something very interesting: cheap oil = bad and expensive oil = good.
This has a lot to do with the oil company’s research, the base oils, and the additives used. I needed just less than 5 litres of 5W-30 fully synthetic engine oil (4.3 litres to be precise) and I really didn’t want (couldn’t afford) to spend £60/£80 on engine oil plus the other bits I needed for a service so I did some more digging. A company called Mannol caught my eye; mainly because it looked like “man-oil” at first and that sounded kinda sexy. After looking at lots of reviews from IRL people on the internet it actually sounded like a pretty good budget engine oil, people like it and recommend it and its half the price of Tory engine oils. I bought this one:
Side note: Although it comes well recommended and respected by IRL people, I’ll probably do a couple of Man-Oil changes a year rather than one just to be safe.
To go with my Man-oil I also ordered a new butt-plug for a couple of quid. I know it’s not necessary to replace the oil drain plug every time you do an oil change but with this being the first oil change I’ve done on this car I figured it’s best just in case the threads are damaged or something:
I also bought an air filter:
And a fuel filter:
The First Service
I started my engine and let it run briefly to allow the oil to warm up so it would flow out better when draining. After a few minutes I switched it off, popped the bonnet up, and laid down on the cold and dirty carpark floor. I inelegantly manoeuvred myself under the front of the car, and removed the under tray which was held on with four hex screws at the front and a bodge involving two tie wraps.
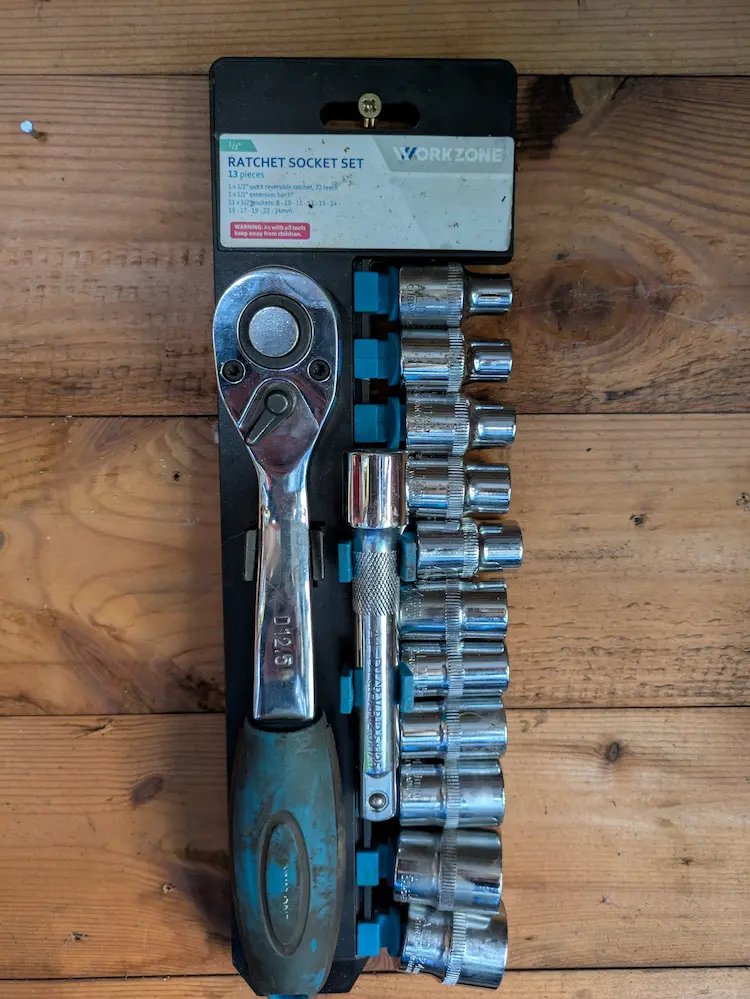
After removing the undertray I used a 19mm socket from my awesome Aldi Special Buy socket set and cracked the oil drain plug. This socket set has never let me down, it’s an awesome little tool set for DIY-ing.
I then grabbed my super professional waste oil catcher and slid it under where I thought the waste oil would land when I unscrewed the plug.
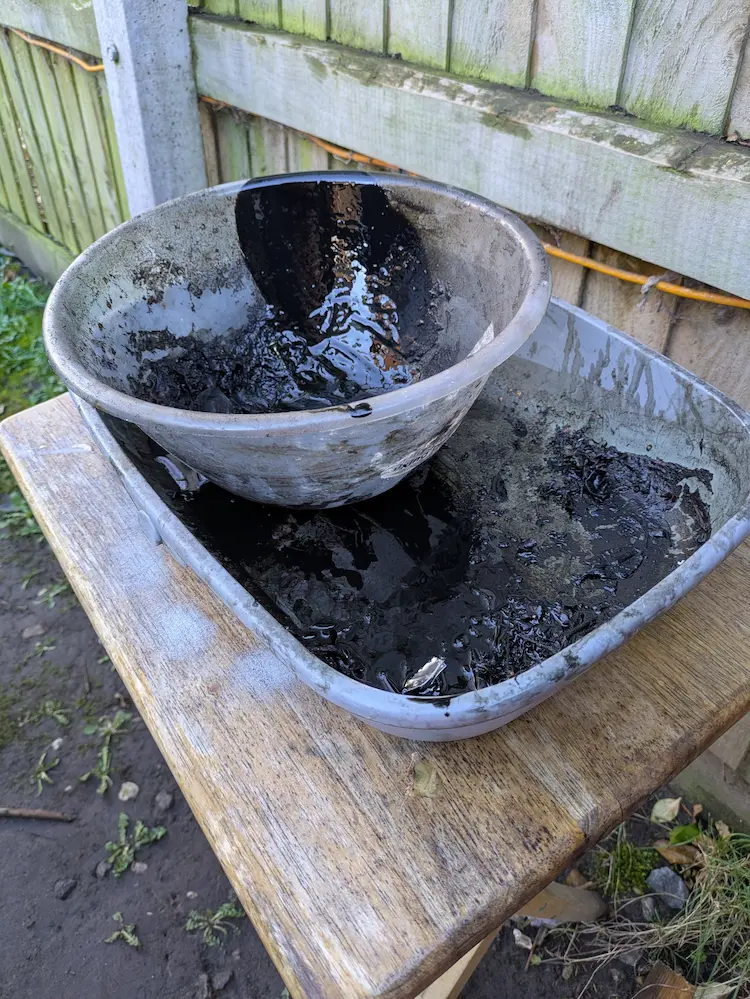
I unscrewed the plug and dropped it into the mixing-bowl-old-cat-litter-tray-professional-oil-catcher (that was placed perfectly to catch the oil) and let the oil begin to drain. I then wiped the oil off my hands with some blue roll and unscrewed the oil cap on top of the engine, this allows the oil to drain more freely.
Oil Filter
On a Volkswagen 1.9 TDi Mark 5 Golf the oil filter is located at the front of the engine bay and is easily accessed.
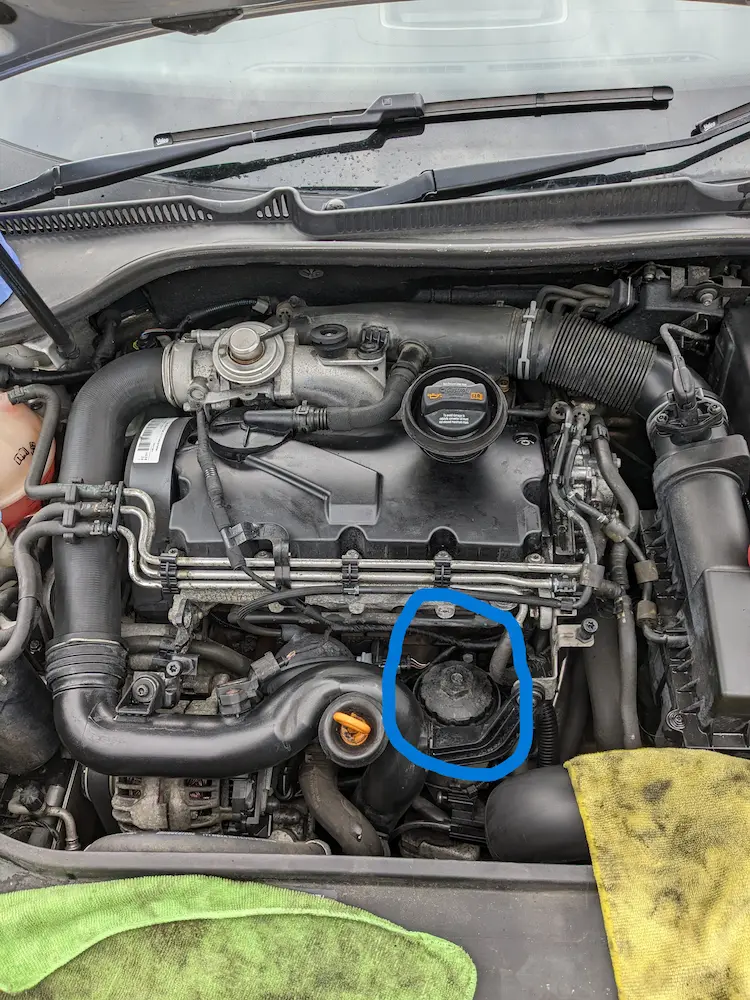
On this rare occasion, Aldi Special Buy tools couldn’t help me so I had to dig out the random box of shit in the shed where I keep loose tools that I’ve collected over the years and have no home. I managed to find a big old 32mm socket that fit perfectly on top of the oil filter housing, I unscrewed the housing and removed the oil filter. The new oil filter went in complete with a new O-ring; I once saw a real man rub some oil onto the O-ring before replacing it, so that’s what I did too! Then I tightened the filter housing back up.
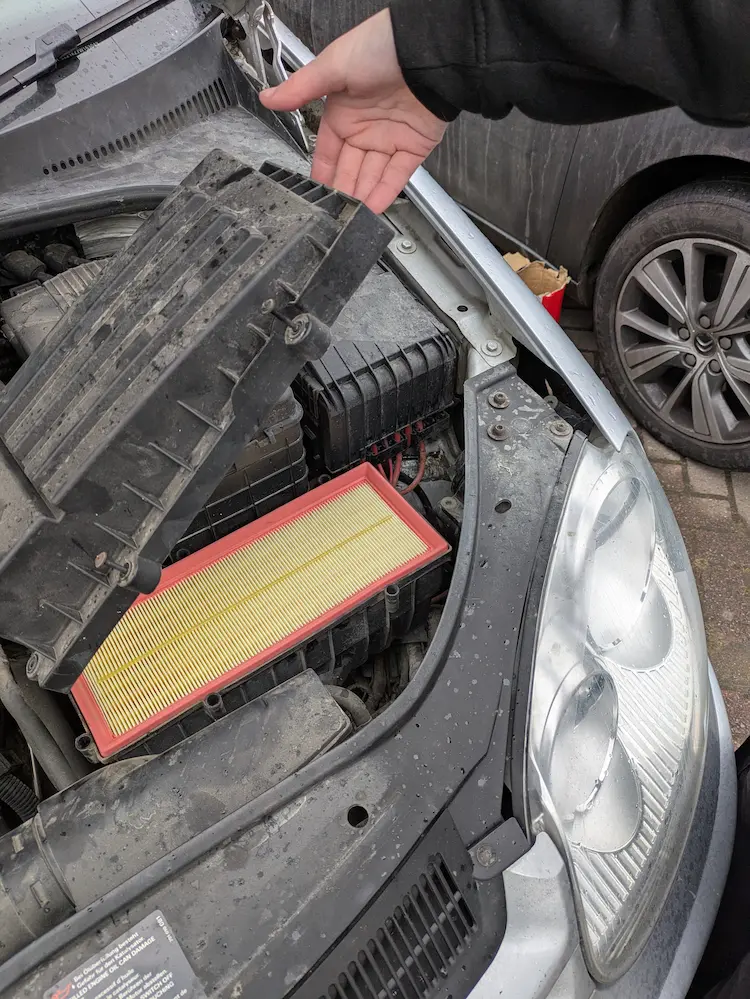
Air Filter
The air filter on a 1.9 TDi is located to the right side of the oil filter. It lives in a big plastic rectangle box that is enclosed with eight Philips head screws. Once all the screws are removed the lid lifts off, the old air filter can be simply lifted out and the new one placed back in (making sure the fins are facing down), then all the screws re-tightened; et voila!
Once the oil and air filter have been changed, I rolled back under the car and put the new oil drain butt-plug in and tightened it up. I then grabbed my 5 litres of Man-oil and poured a good 4/5 into the engine. I then waited a few minutes and checked the dip stick and topped up as needed until the oil level was correct.
I then started the engine and tidied all my tools away. Once everything was tidied up, I turned off the engine and checked the oil level again, topping up a bit more as needed.
Fuel Filter
Next was the fuel filter. The fuel filter sits at the front left of the engine
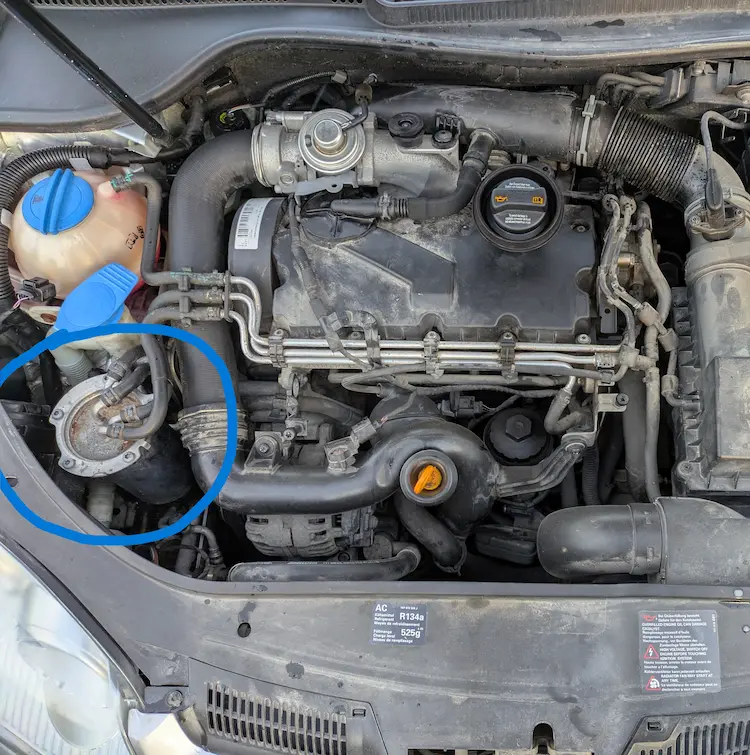
To gain access to the fuel filter you need to unbolt four T30 torx bolts; or in my case, three T30 torx bolts and one Philips head screw #Bodge. Then you can simply and gently prise up the top of the fuel filter lid and remove the filter (if the name of the filter didn’t give it away, please be very aware that this metal container is full of fuel and you are removing a filter that is also full of fuel, it’s very smelly and quite messy so have some rags/cloths to hand and a container to drop it into.
There’s Nowhere Quite Like Home
After a full internal and external Fr33thy and a service the car was finally starting to feel like mine, I just need to add a few more of my own farts.
The fun thing about detailing cars is that it’s never fully finished and there’s always another bit to clean or polish and this makes me very happy. The satisfaction from making my car look fresh and clean is second to nothing.
Thanks
Obi xx